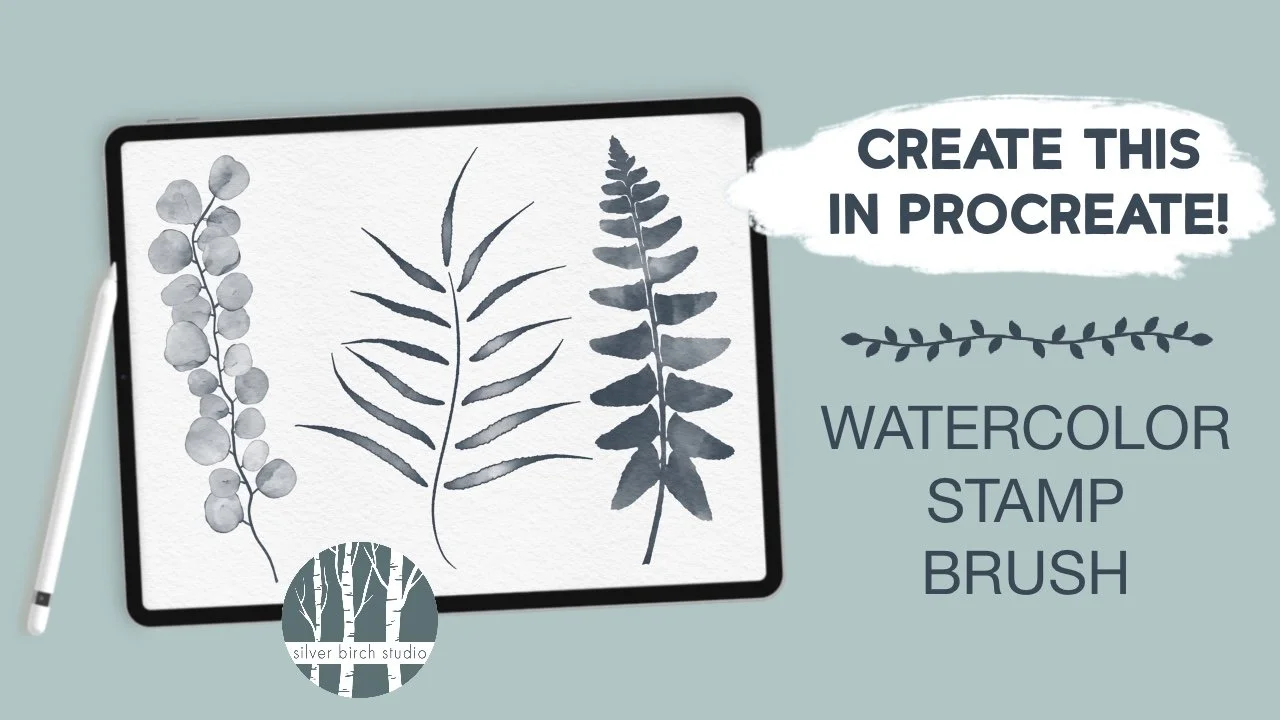
make a watercolor stamp brush in procreate
Procreate Brush Making Tutorial
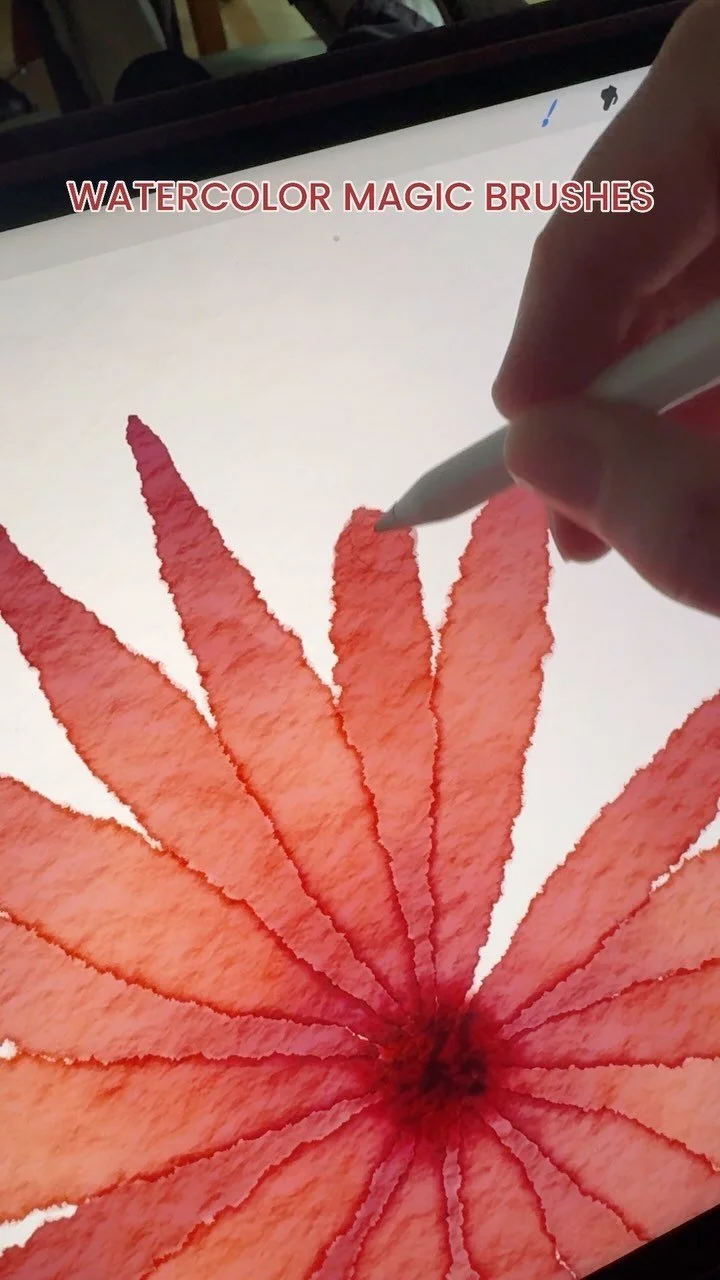
This Procreate tutorial will have you making your own brushes in no time, even if you've never made a brush before. This won't just be any old brush, either, it will take your watercolor art and turn it into a stamp brush you can use again and again. Grab your iPad and your Apple Pencil, and let’s go!
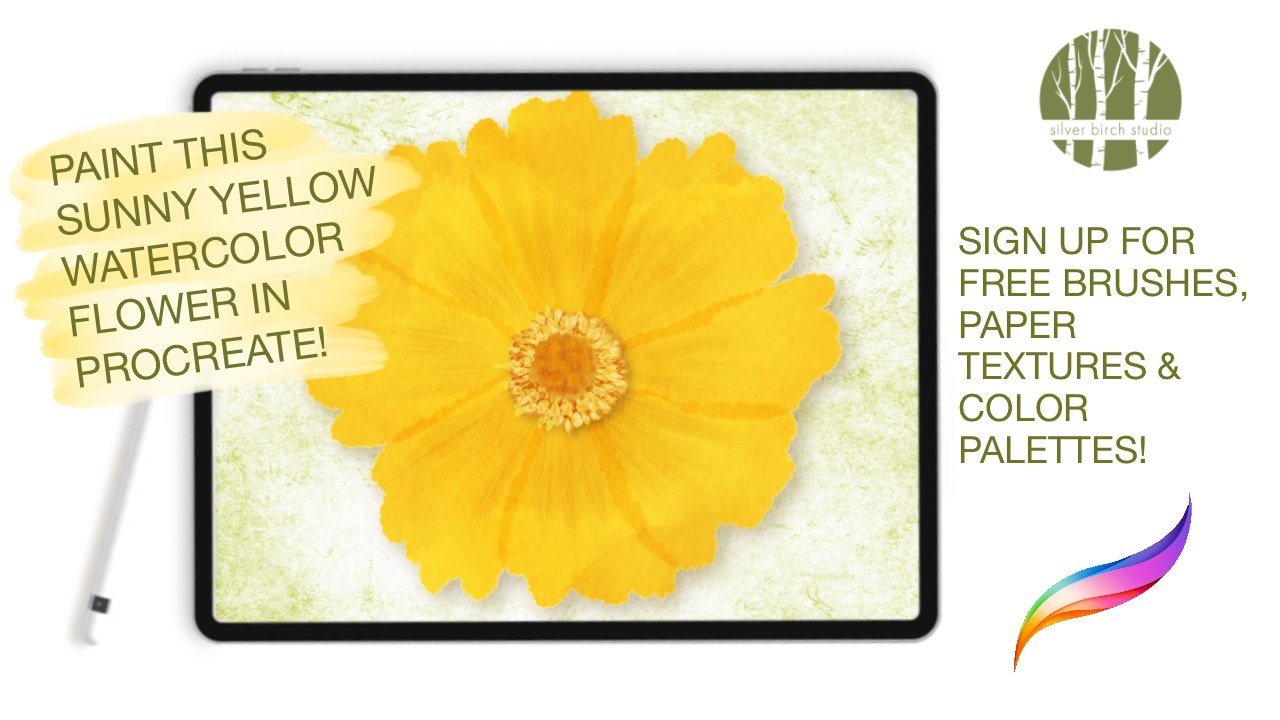
In this tutorial, I’ve used a brush from my Watercolor Magic brush pack (link below) but you can use any watercolor brush you like. If you only have the brushes that came with Procreate, the best one for a watercolor look is “Wild Light” in the Artistic section. I have a free paper texture for you in the Birch Grove, and when you sign up for access (again, link below!), you’ll find all kinds of great freebies in there - brushes, color palettes, paper textures, and more!
The tutorial covers:
Setting up your Procreate canvas
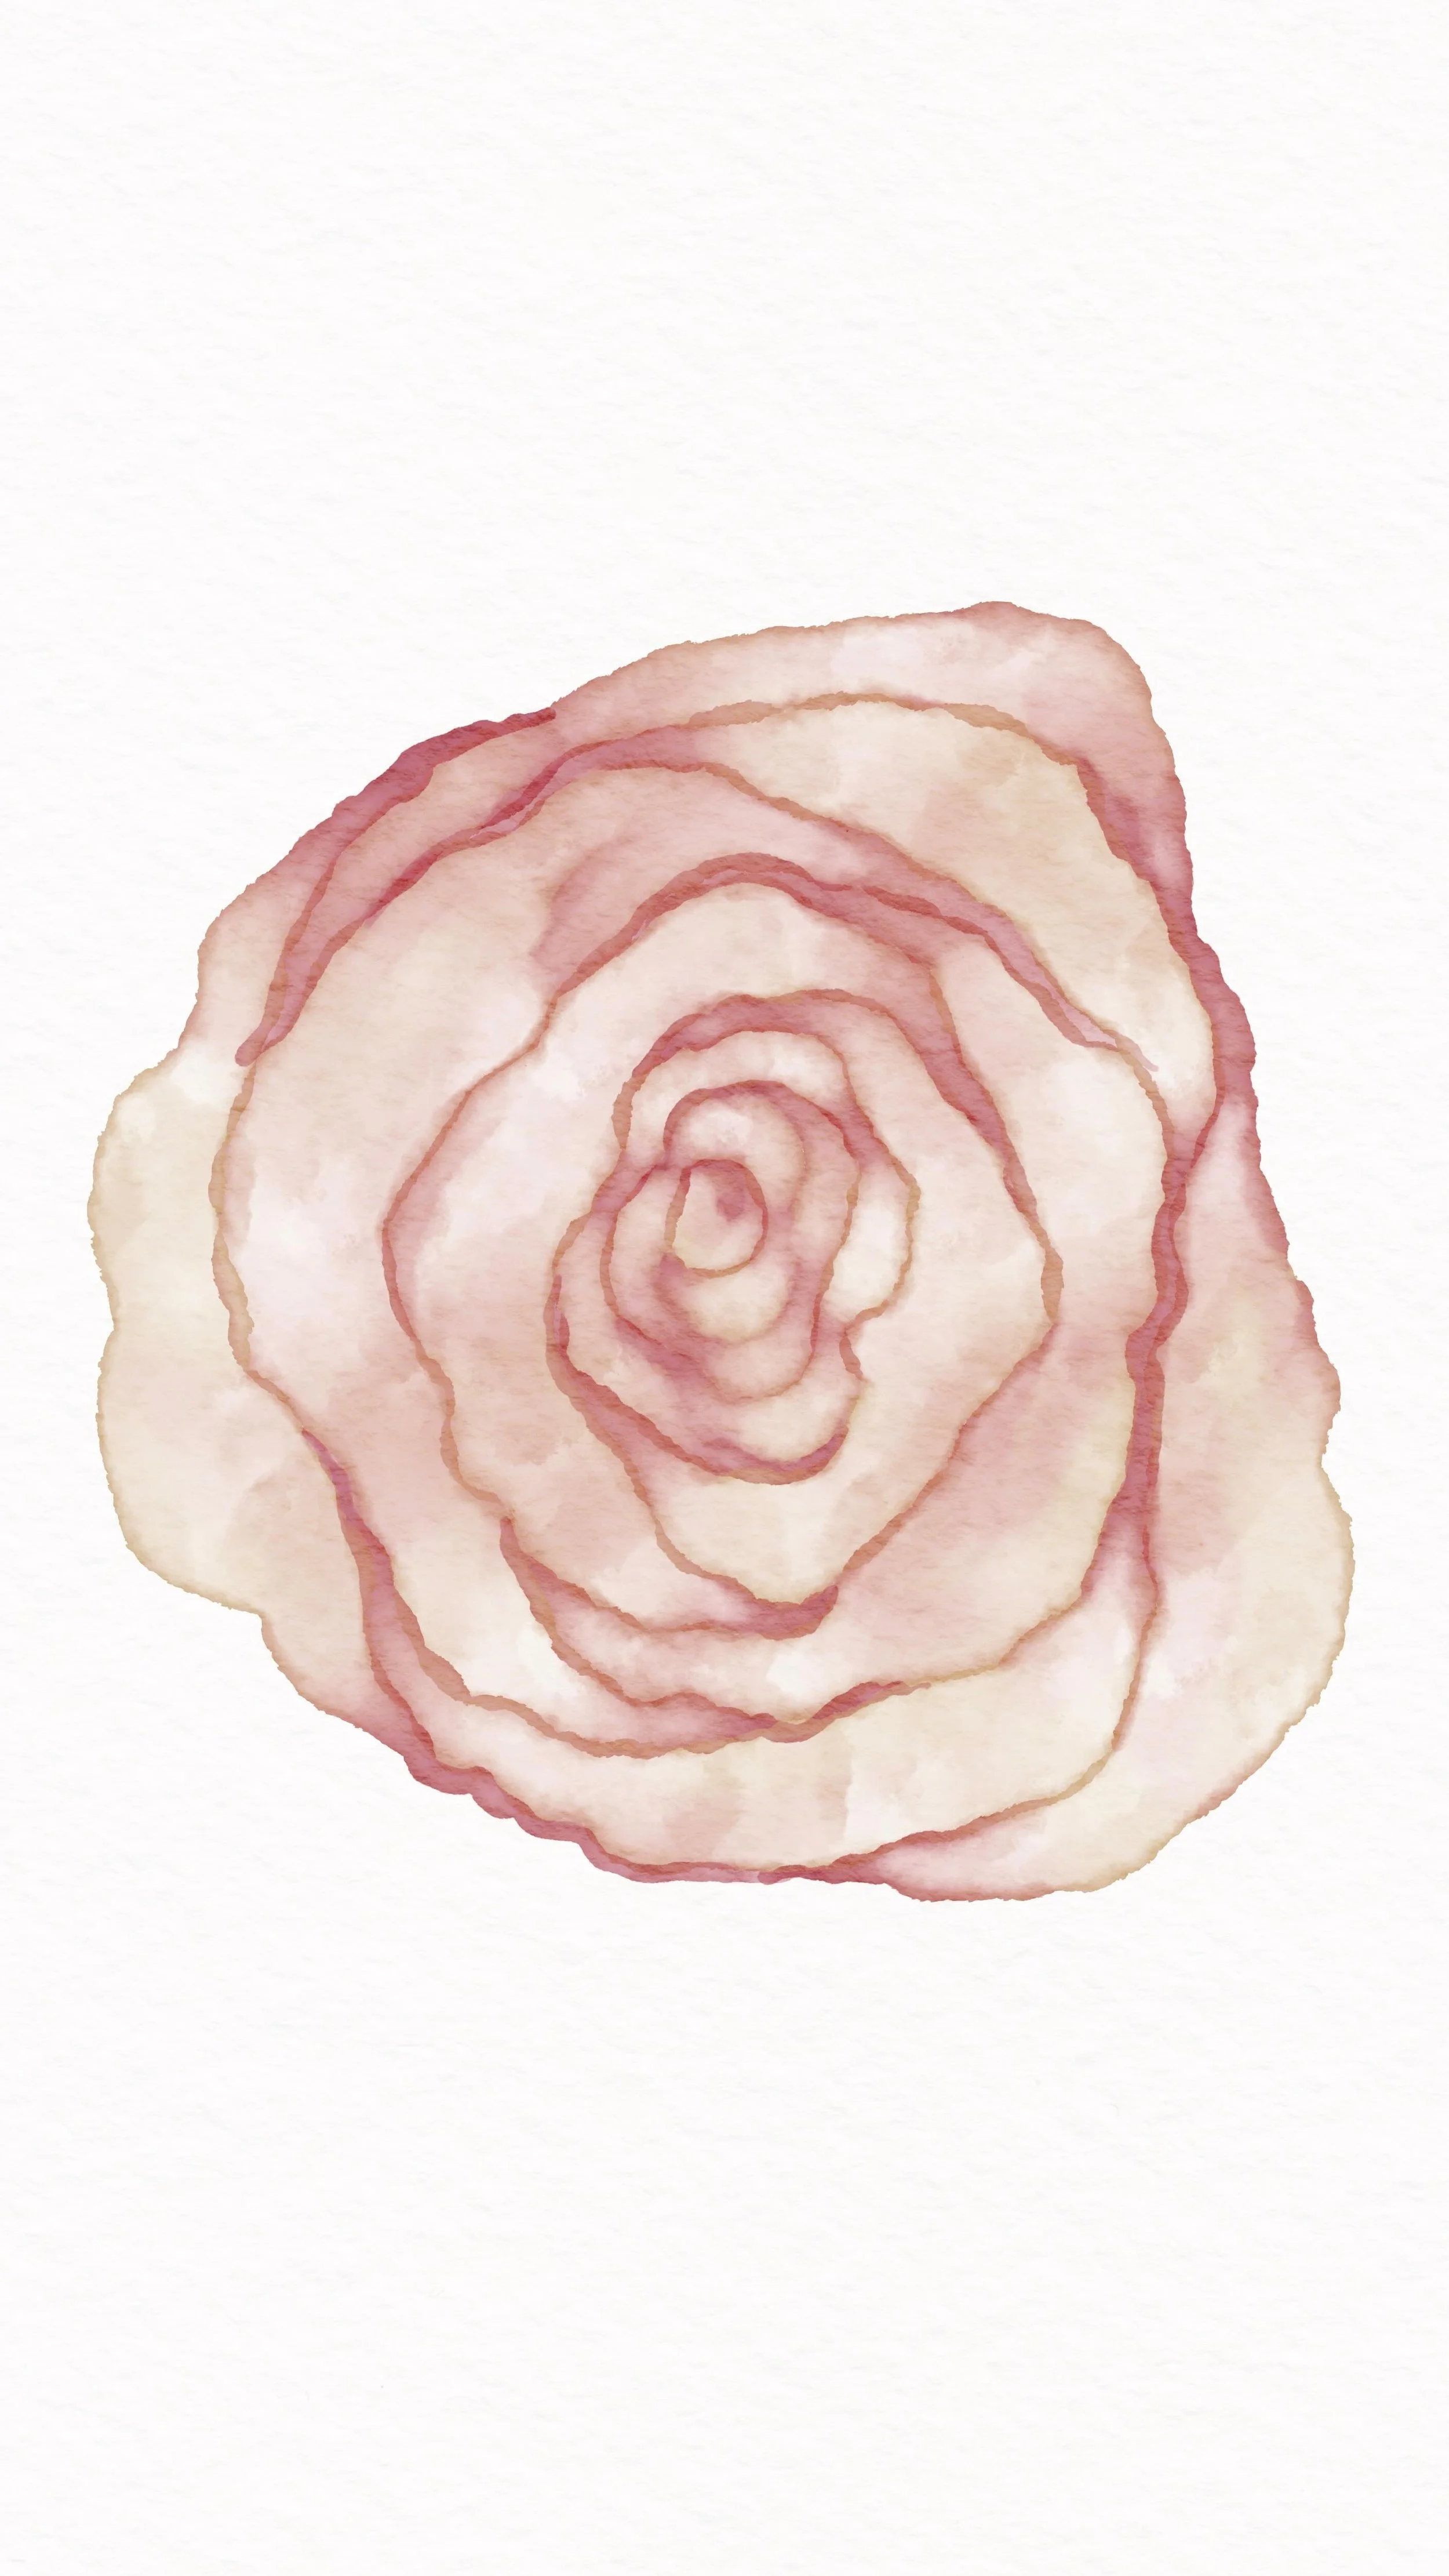
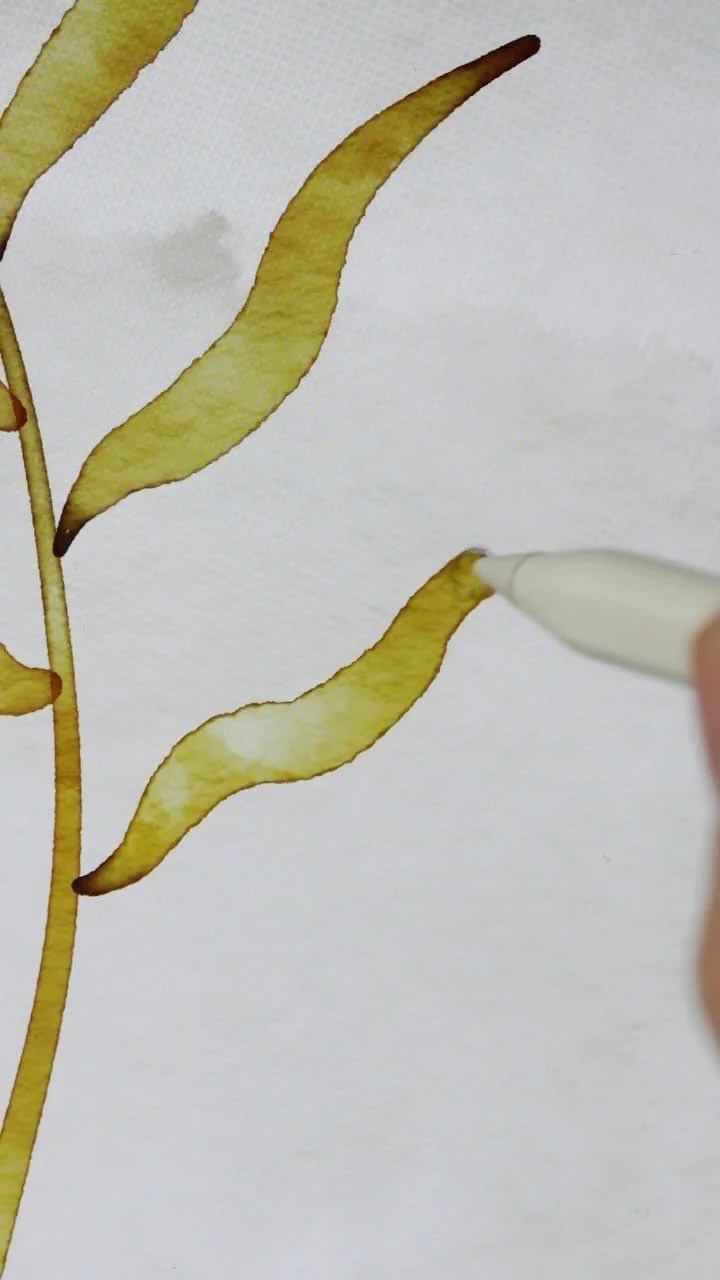
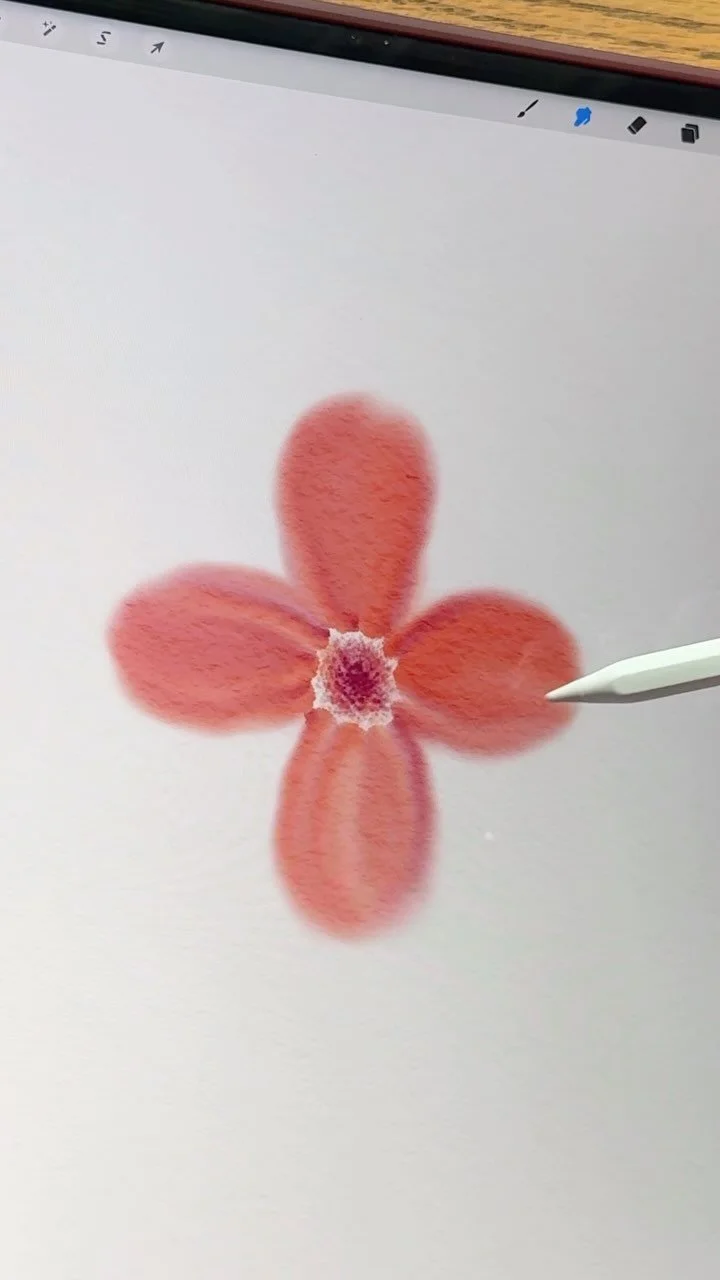
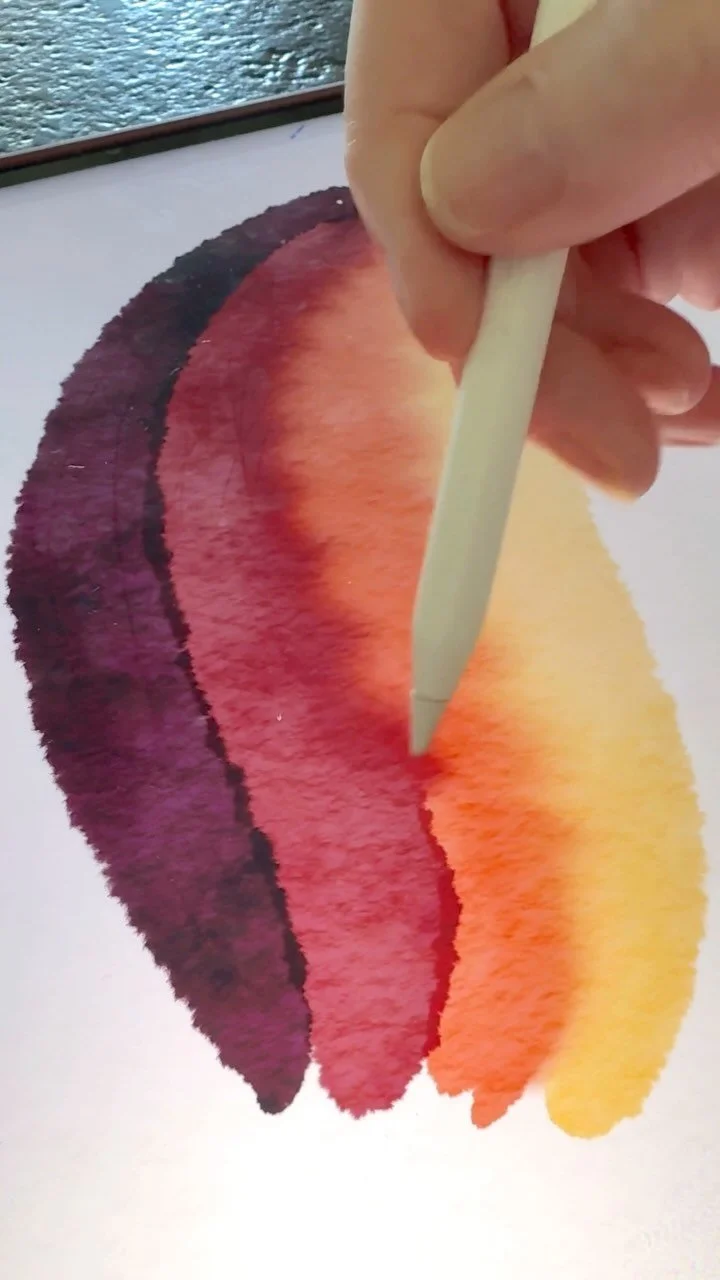
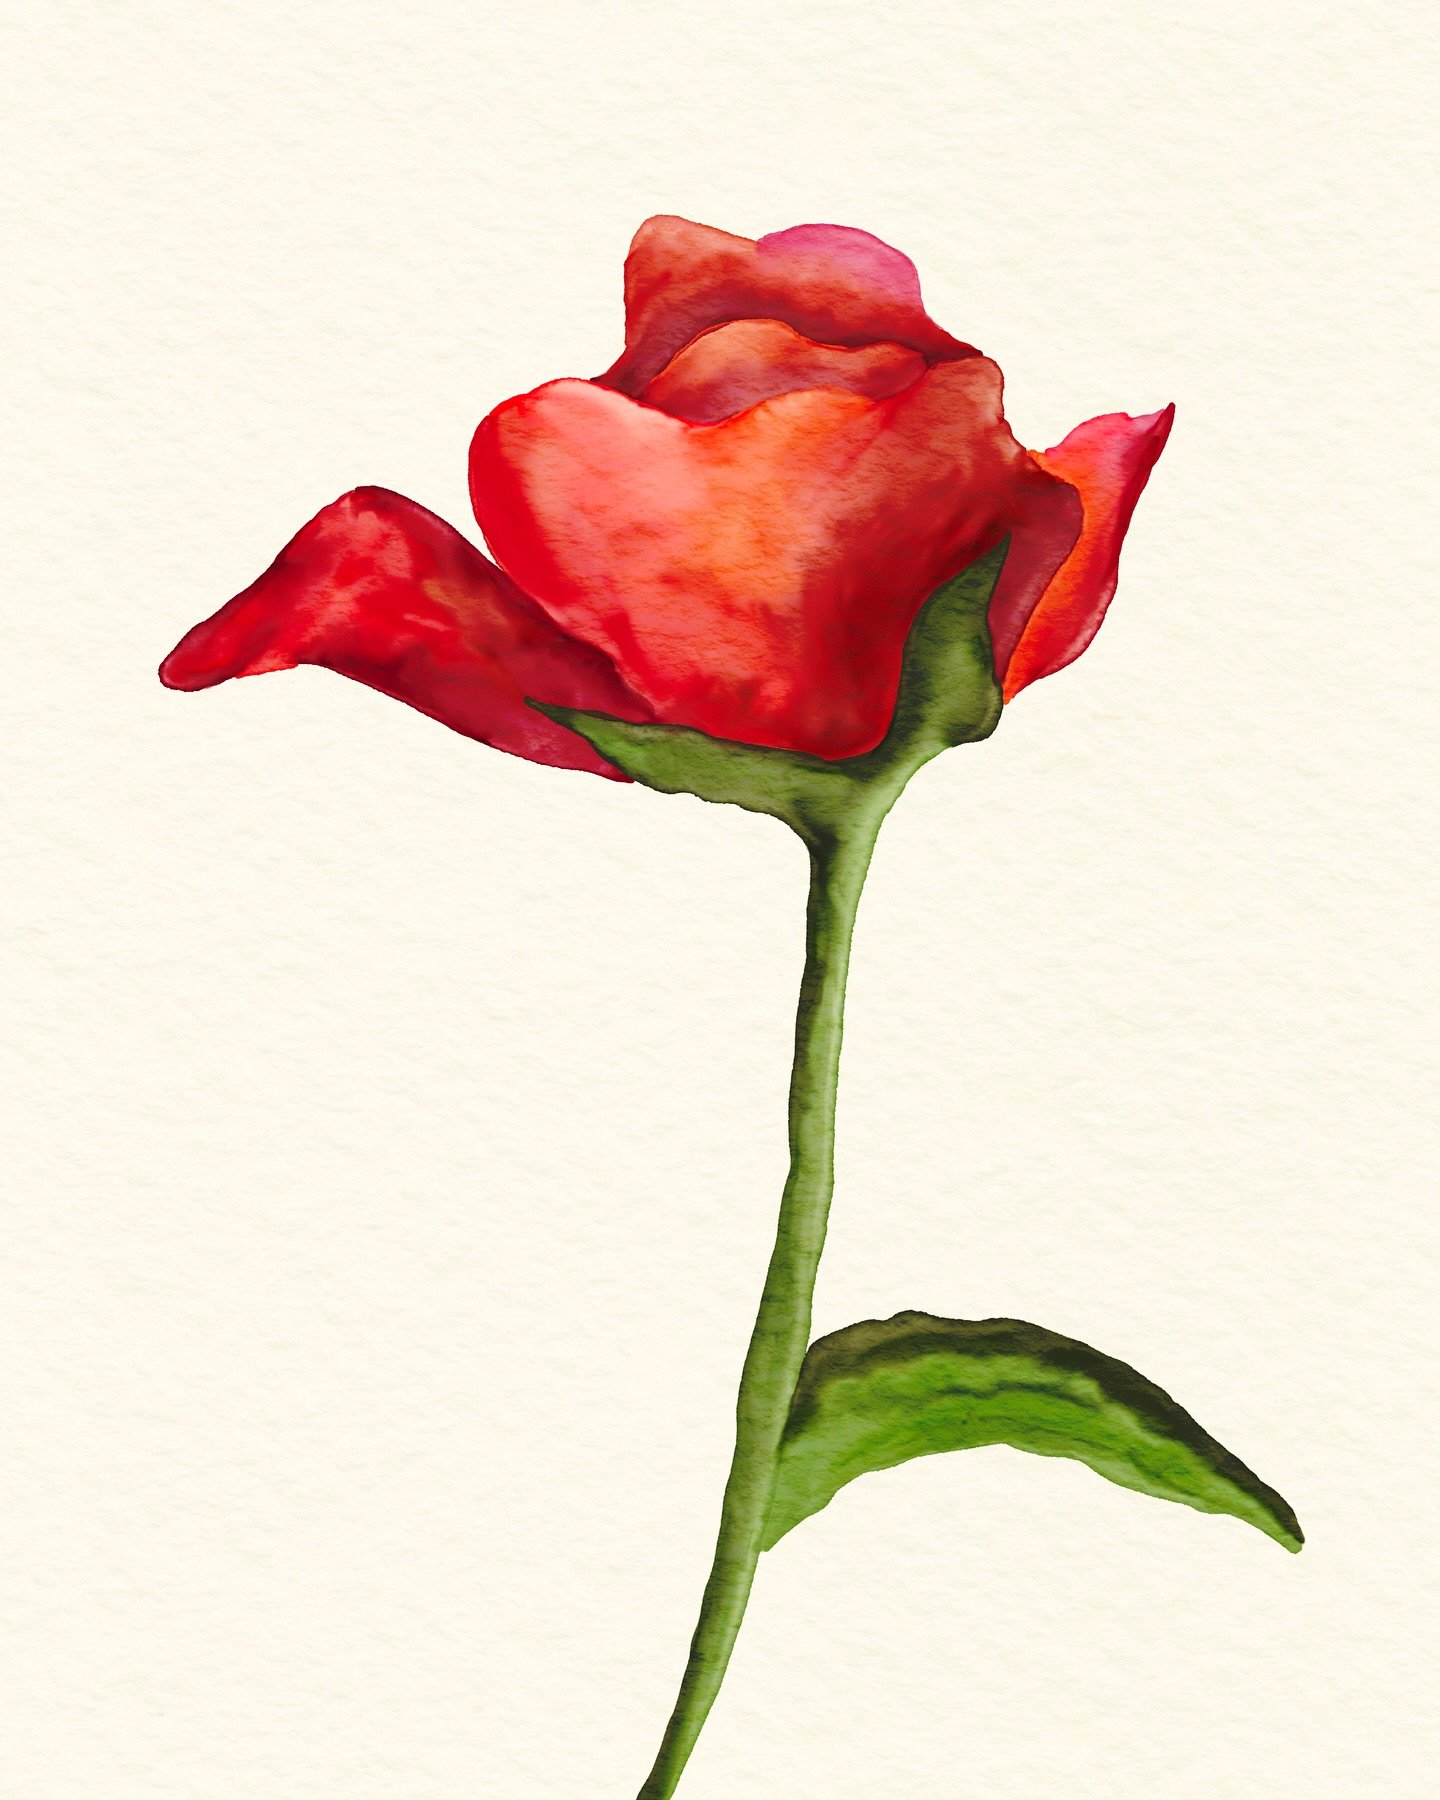
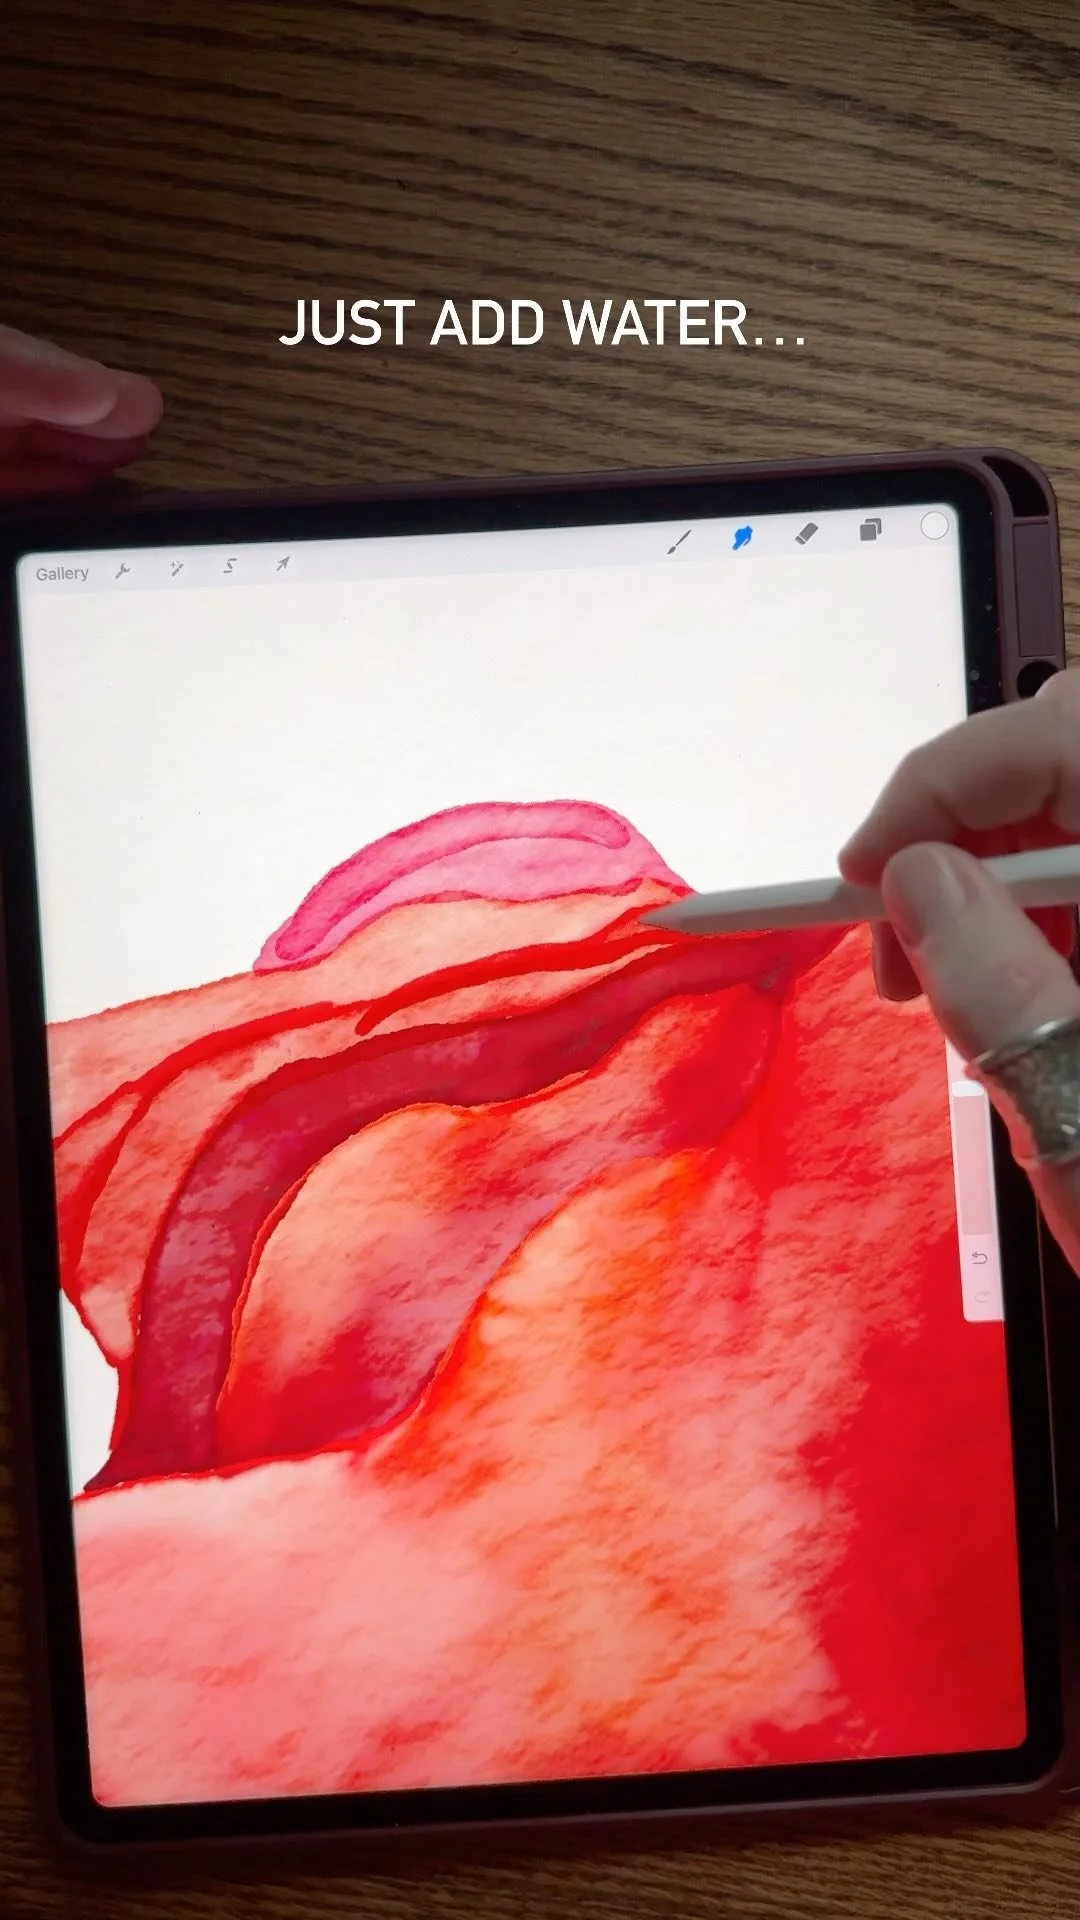
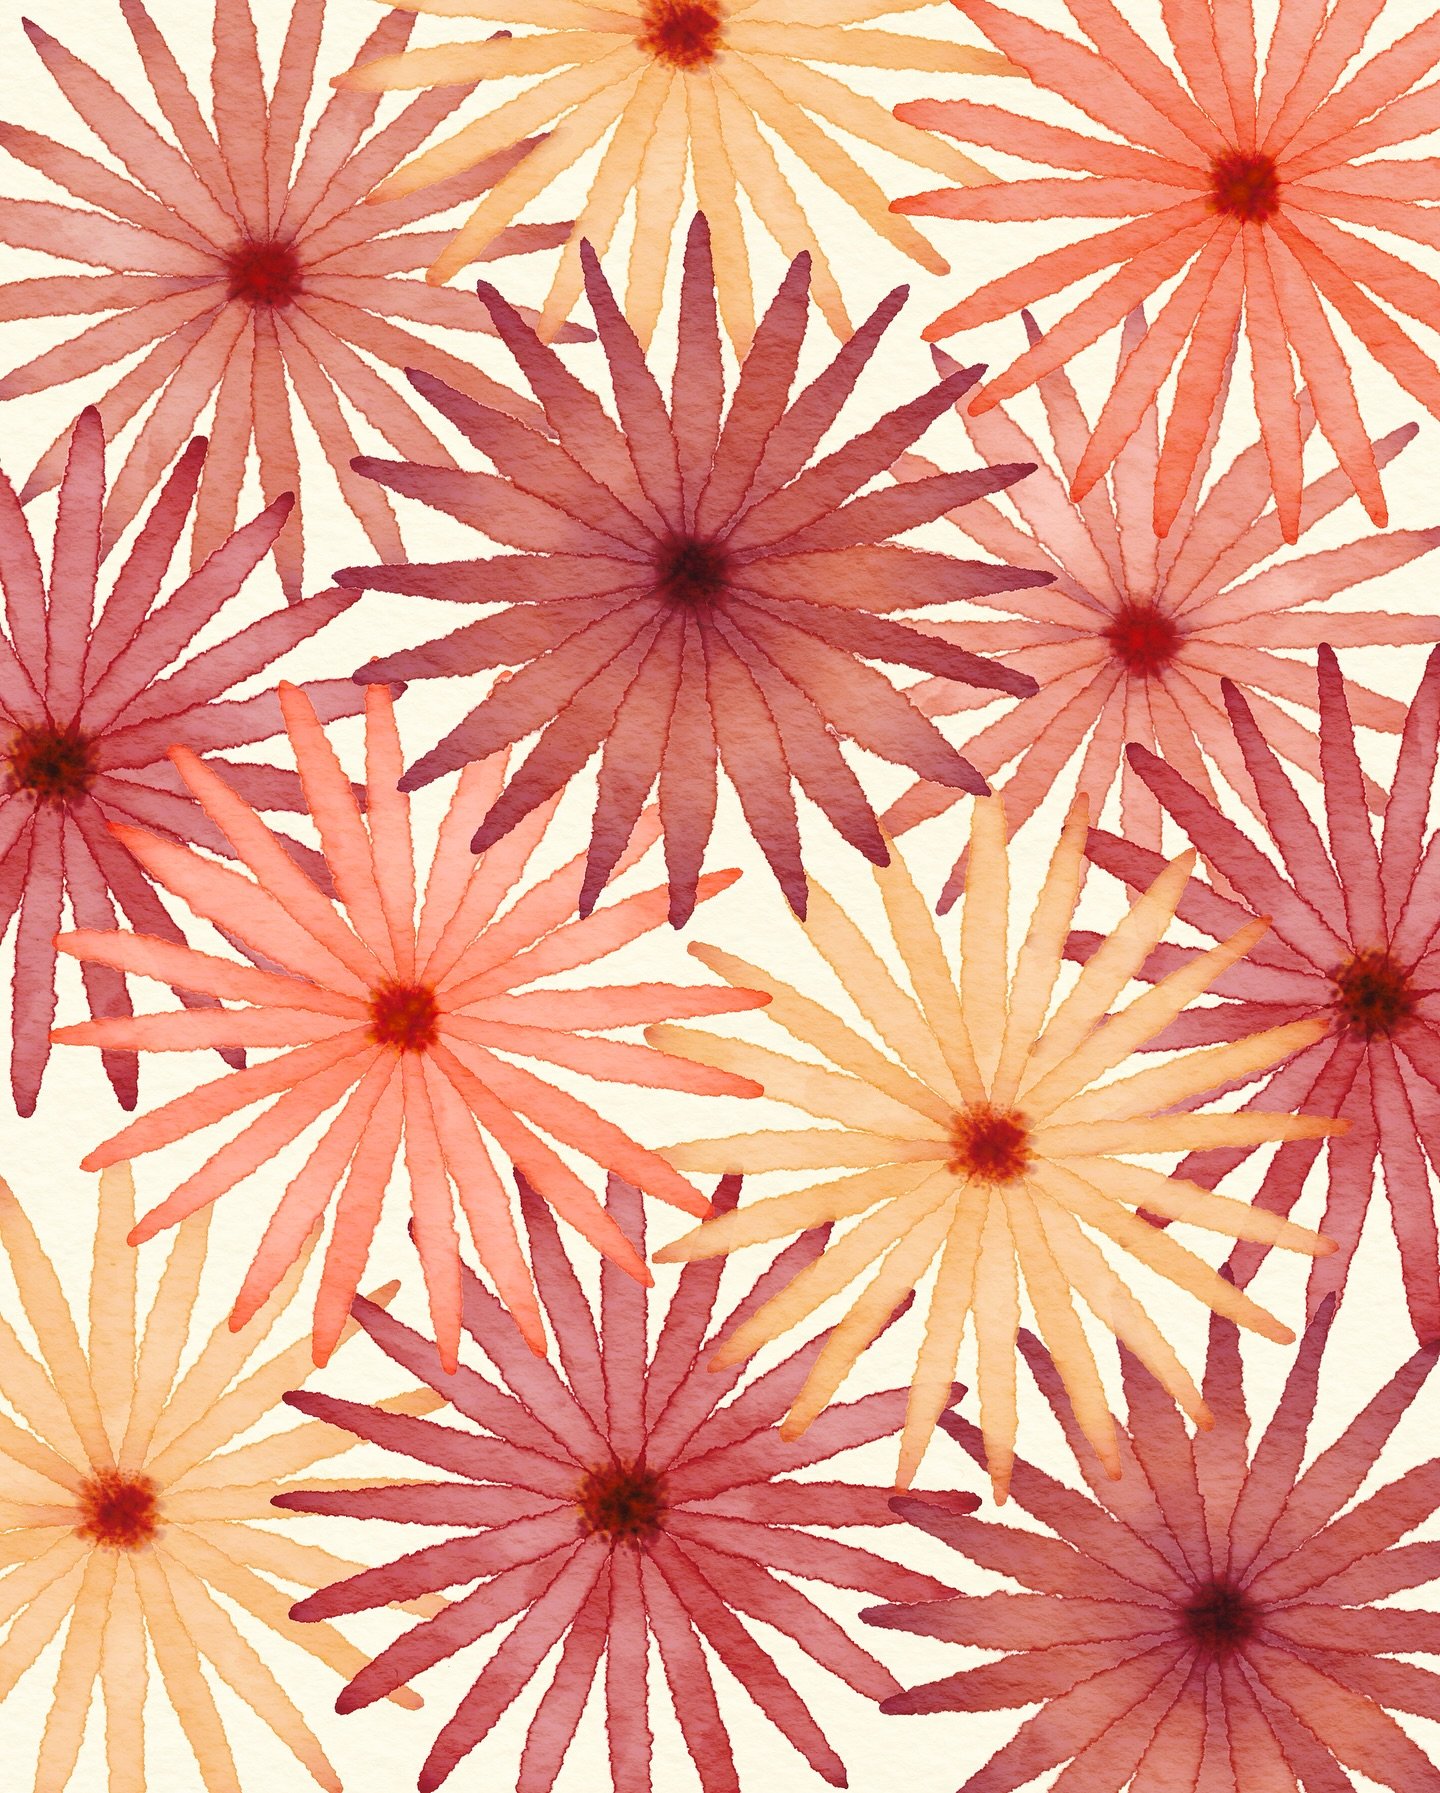
Creating your watercolor art
Removing the paper texture from the background
Getting the right settings for your new brush
Fair warning: making stamp brushes can be addictive, so start this process at your own risk!

Brush Pack Used:
The Watercolor Magic Procreate painting kit has everything you need to create beautiful, realistic watercolor digital art on your iPad with your Apple pencil, including:
• 36 magical brushes in total
• 24 watercolor brushes, including 11 DuoColor brushes
• 6 watercolor blending brushes to achieve exactly the look you want
• 5 extra brushes for paint splatters, backgrounds, and a textured sketching pencil created especially to work with watercolor papers
• 6 color palettes created to help you make the most of the DuoColor brushes
• 5 different watercolor paper textures, set up in ready-to-use Procreate canvases - just copy, open, and paint
↓ free stuff! free stuff! free stuff! ↓
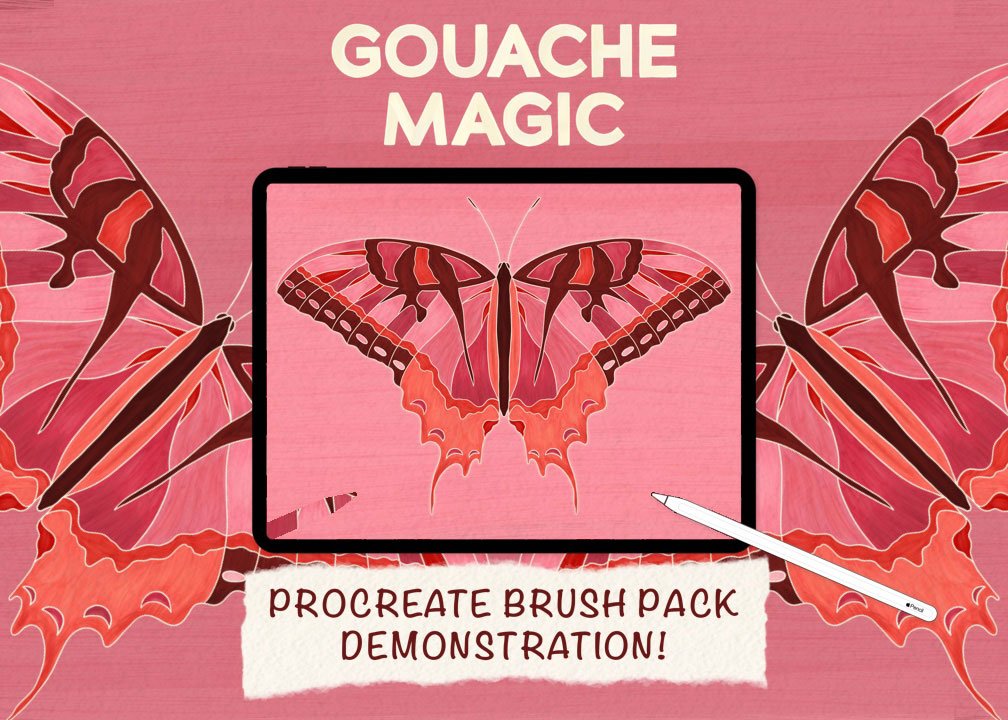
check these procreate tutorials, tips and tricks out, too:

the latest on the ‘gram…