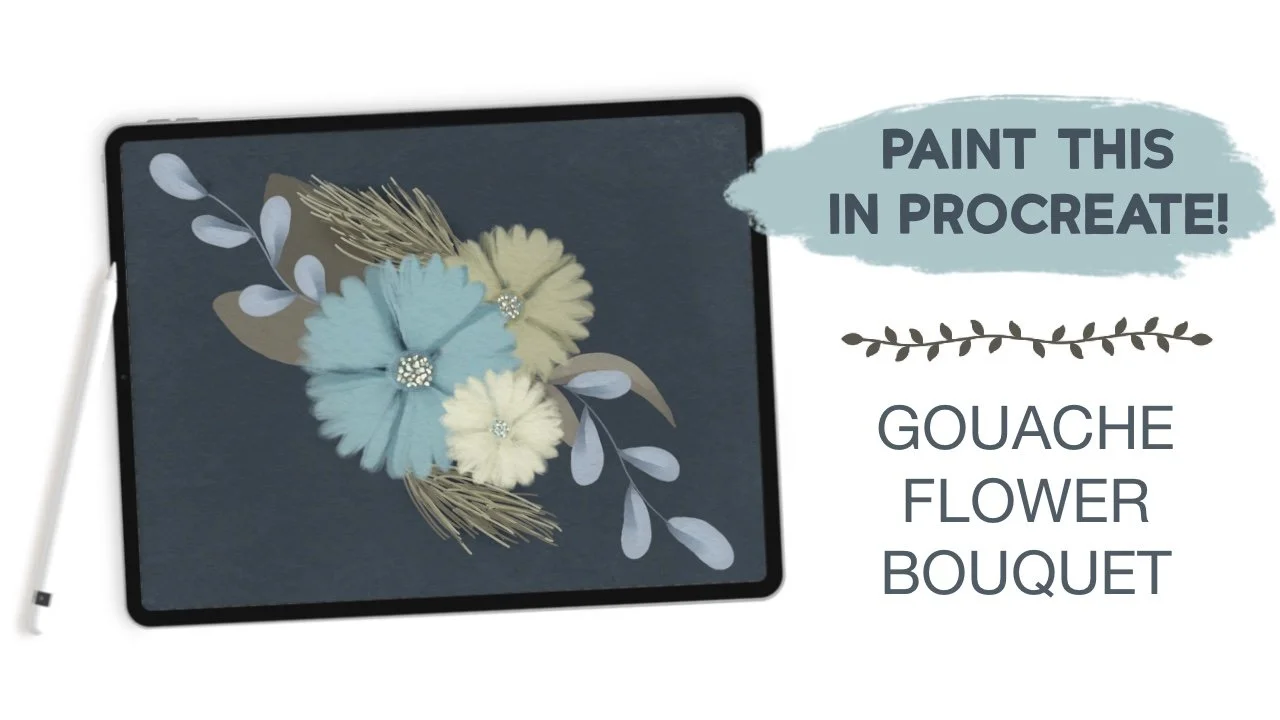
paint a gouache flower bouquet in procreate
In this Procreate video tutorial, we will use gouache brushes to paint a beautiful bunch of flowers, and learn quite a few tips and tricks along the way as well. If you’re signed up for the Birch Grove, there are several free resources to go with this, including a paper texture, a sketch that lays out the placement of the flowers, and a color palette for the bouquet.
Key Points in the Tutorial:
Sketch first - this can really help with placing your flowers
Separate layers - keeping each element on it’s own layer will really help you tweak things
Sometimes a dark background and a little texture will make things pop
Use a guide to help with spacing your flower petals
Turn your layers on and off while working so you can really see what you’re doing
Having a sketch to help with the layout of your different elements can be really helpful for a painting like this, because we have a lot going on. You’re welcome to download the free drawing provided in the Birch Grove (↓sign up for all the free goodies at the bottom of this page↓) or feel free to create your own.
Free Procreate Brushes Used In This Tutorial:
Having each element of the bouquet on it’s own layer will really help with placement, because even when you’ve laid things out ahead of time, it’s nice to be able to tweak things. Plus, this is one of the reasons we love digital art, right? A dark background with a bit of texture can really add to the final effect, so I’ve provided a free texture stamp brush to play with - let me know if you like it!
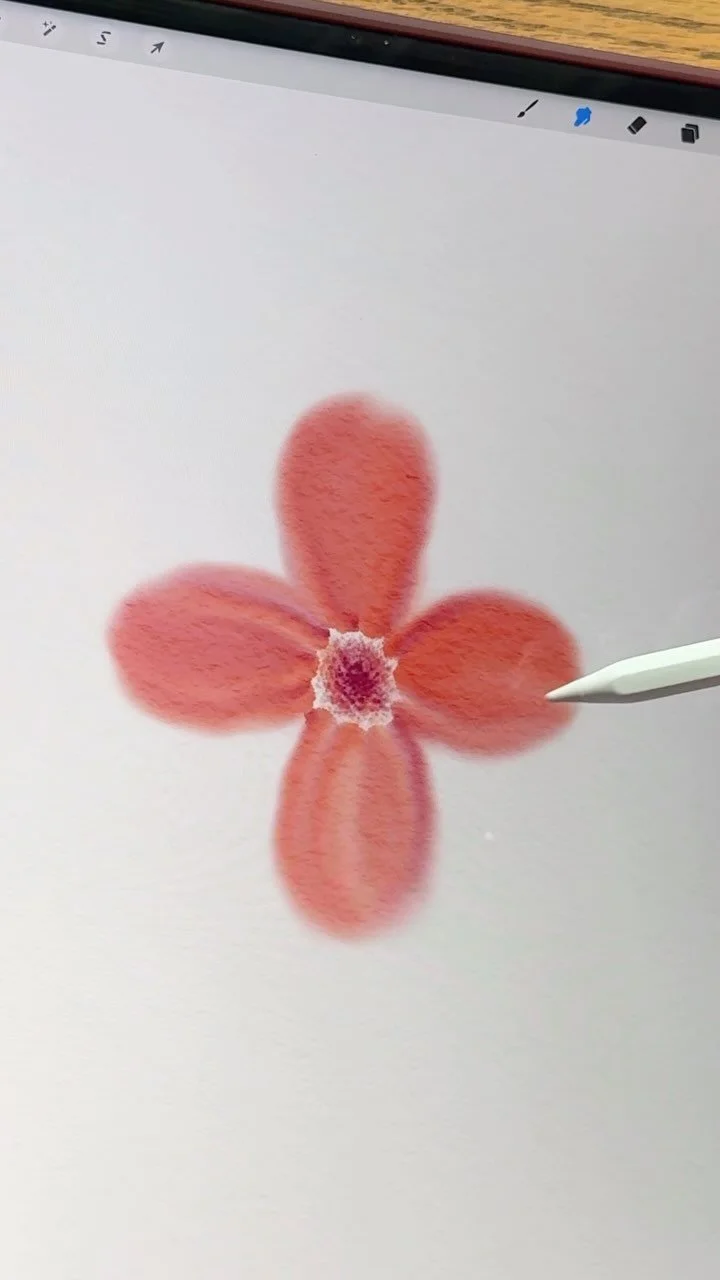
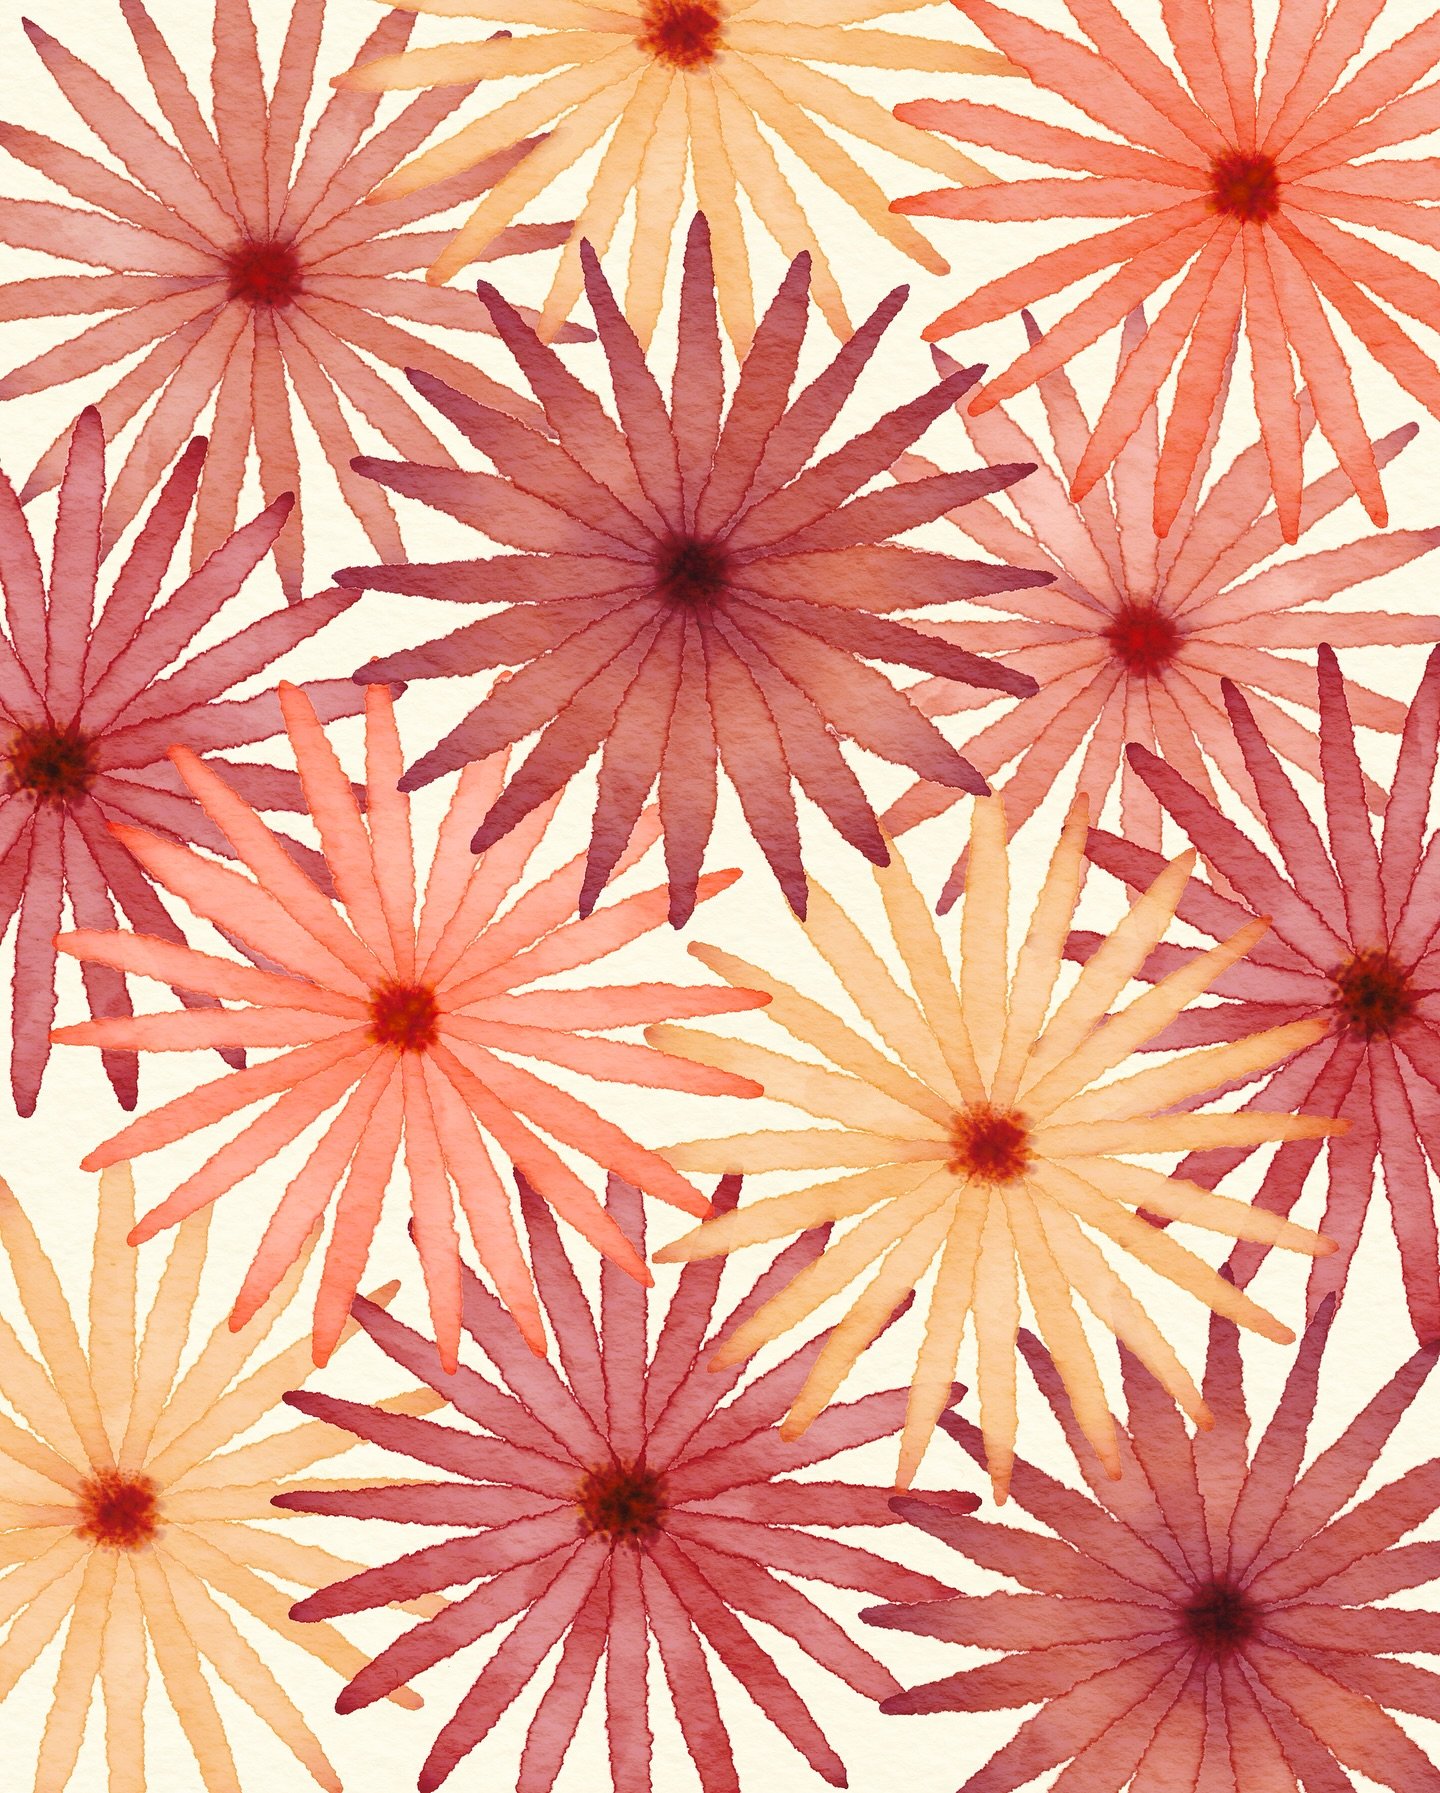
I’m also giving you another free stamp brush that can really help you paint your flower petals evenly, because if you’re like me they can get pretty wonky. The flowers I painted in the tutorial have five petals, but inside the Birch Grove, you’ll find a stamp guide for six and seven petal flowers as well. Once you sign up and go to the Birch Grove, just look for the Penta, Hexa, and Septa Star brushes. They also make pretty cool star stamps even if you’re not painting flowers.
Learn To Love Your Layers In Procreate!
Finally, this is one of those cases where you will really learn to love your layers in Procreate. Layers make it so easy to move things around, move items in front of or behind other elements, and you can even have fun with changing colors or saturations of just part of your painting. Even if you’ve never used layers before in a program like Photoshop or Illustrator, it’s really worth learning to use them to your advantage.
I’ll have to work on some more Procreate video tutorials that show you how to use your layers, but in the meantime, I hope you enjoyed this lesson, and please let me know if you have questions, or suggestions for other tutorials you would like me to make for you!
Brush Pack Used:

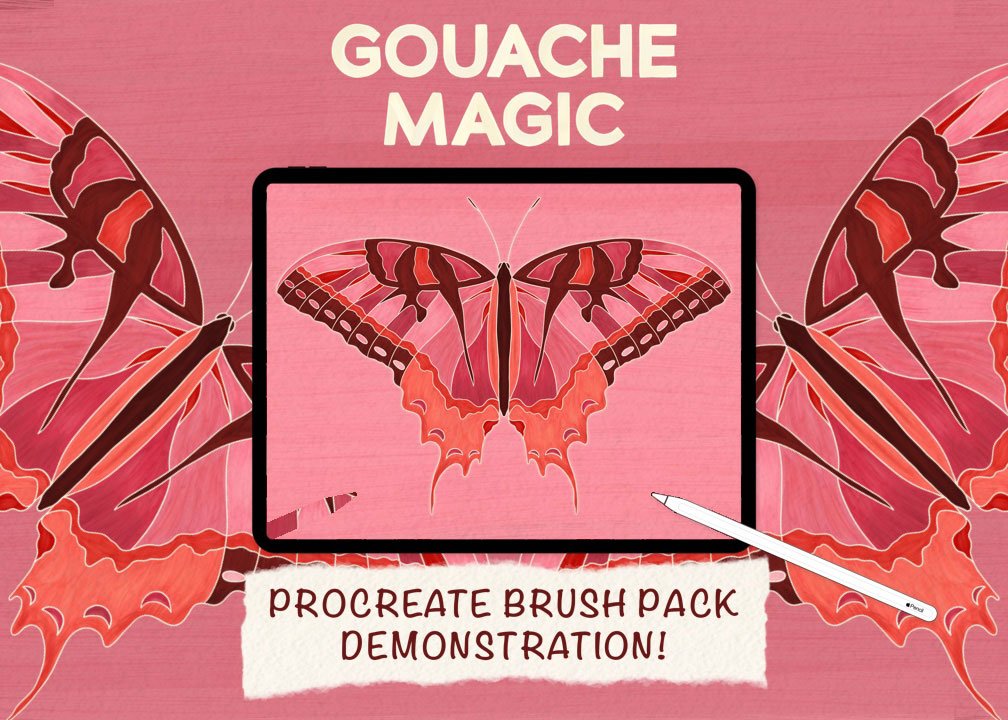
Gouache Magic
The Gouache Magic Procreate painting kit has everything you need to create beautiful, realistic gouache digital art on your iPad with your Apple pencil, including:
• 40 magical brushes in total
• 32 gouache brushes, including 12 DuoColor brushes that take advantage of Procreate's color blending brush engine
• 5 gouache blending brushes to help you blend and smudge your paint to achieve exactly the look you want
• 3 bonus brushes, including two detail brushes, plus a textured sketching pencil perfect for roughing out your design before you get to the fun part of painting
• 4 color palettes created to help you make the most of the DuoColor brushes
• 5 different gouache paper textures, set up in ready-to-use Procreate canvases - just copy, open, and paint
↓ All the free goodies are down here, in the Birch Grove. ↓
more procreate tutorials, tips, and tricks…

The Latest on the ‘Gram…