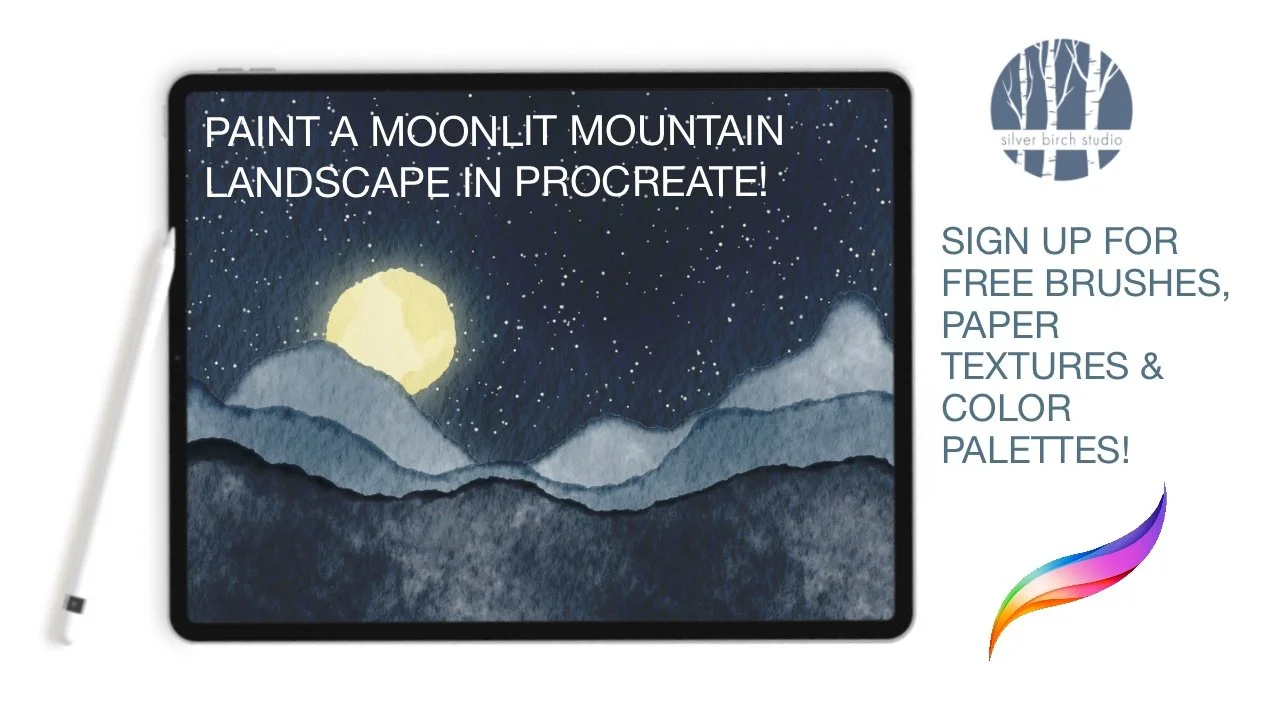
paint a mountain landscape in procreate
In this Procreate video tutorial, you will learn how to create a watercolor landscape using your iPad and your Apple Pencil. With mountains, stars, and moonlight, this digital art project is fun and easy, plus there are Procreate tips and tricks to learn along the way. There is a free Procreate brush called “Starry Night” plus a color palette, and a free paper texture, which you can access by signing up for the Birch Grove - you will find the link below.
Key Points in this Tutorial:
Set up and name your layers
Color variation adds depth to a landscape
Sketching your elements first can help you plan placement and colors
How to keep the translucent look of the watercolor, but still stack layers
Add texture using a clipping mask
Use Gaussian Blur to add a glow
This mountain landscape hits close to home for me, since I live in the Blue Ridge Mountains of North Carolina, so this was a fun scene to paint. To start with, it can be really useful to set up and name your Procreate layers before you start painting. I will admit, I don’t always do this, but whenever I do I really appreciate it. Organization is a beautiful thing - if only it came more naturally to me!
A Sketch Is A Roadmap For Your Artistic Journey
A quick sketch is always a good idea to help plan the layout of your masterpiece, and this is one of the reasons I always include a sketching pencil brush when I make a brush pack. I will confess, I don’t always do this step, but I always appreciate the roadmap it gives me when I take the time to do even a very rough sketch. This is definitely a case of do as I say, not as I do!
Mountain landscapes are always darker in the foreground, so keep this in mind when you start painting, as it will add depth to your finished piece. If you don’t believe me, go look up some mountain landscape photos - I promise it’s true.
Tips, Clipping Masks in Procreate, & A Free Brush
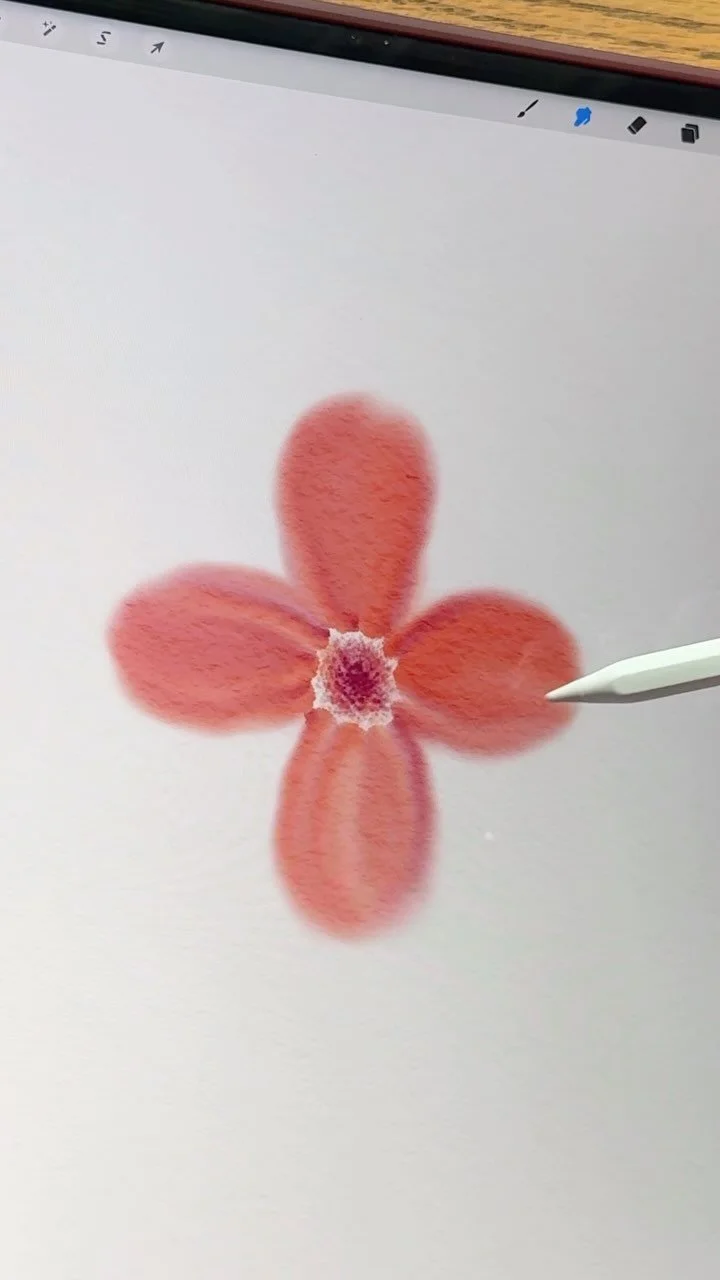
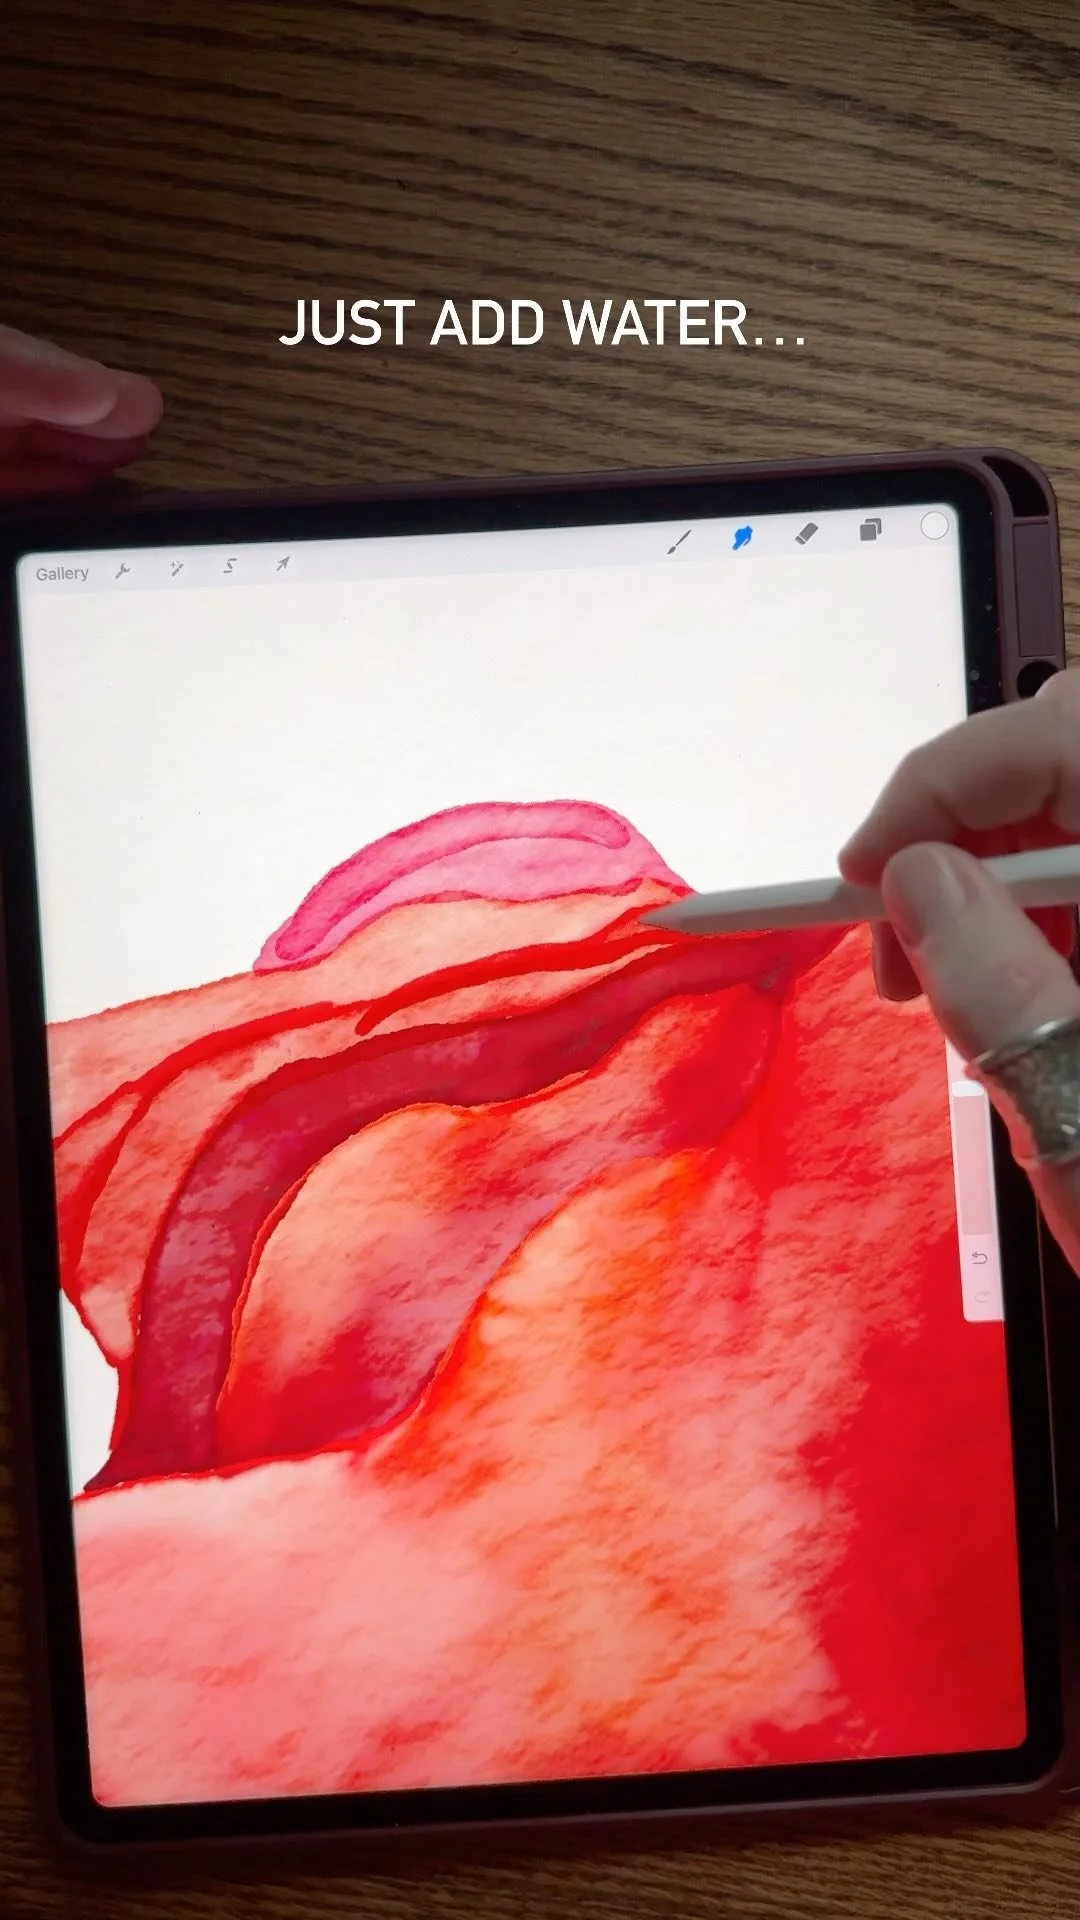
One of the really useful tips I share in this video is a technique for creating a white layer behind each element that preserves the realistic watercolor translucency but still allows you to not see the layers below. If you’ve tried this before, but hated the white halo you got, well, I’ve got you covered - there’s a trick to getting rid of that easily.
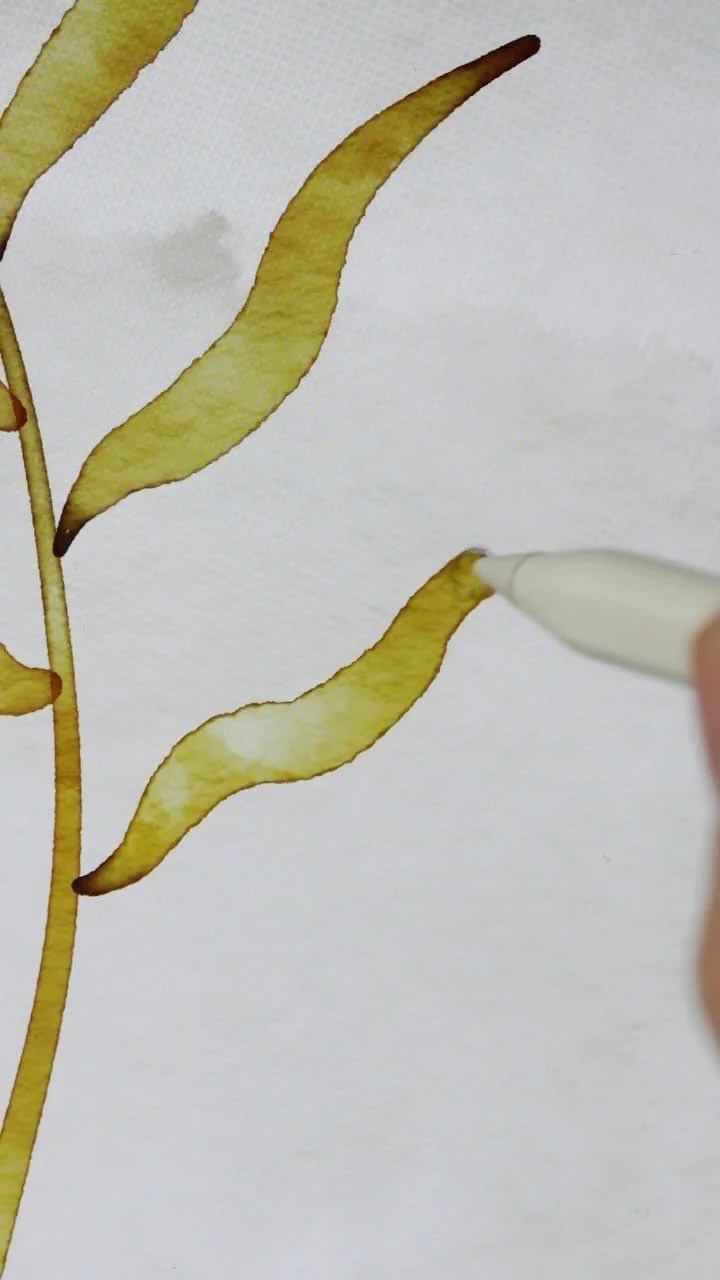
Whenever I’d like to add texture to a painting, a clipping mask is the way to go, and it can also be really fun to play with blending modes to achieve different effects, so I cover both of those things, plus I show you how to use the “Gaussian Blur” tool in the adjustments menu to create a nice glow around the moon.
The final takeaway in this tutorial is actually a “giveaway” - the free Procreate brush I made is called “Starry Night” and it’s a fun scatter brush that spreads stars across the night sky in your painting. You’ll find it in the Birch Grove, along with all the other free digital art resources I offer. Sign up below, and let me know if you have any questions!
Brush Pack Used:

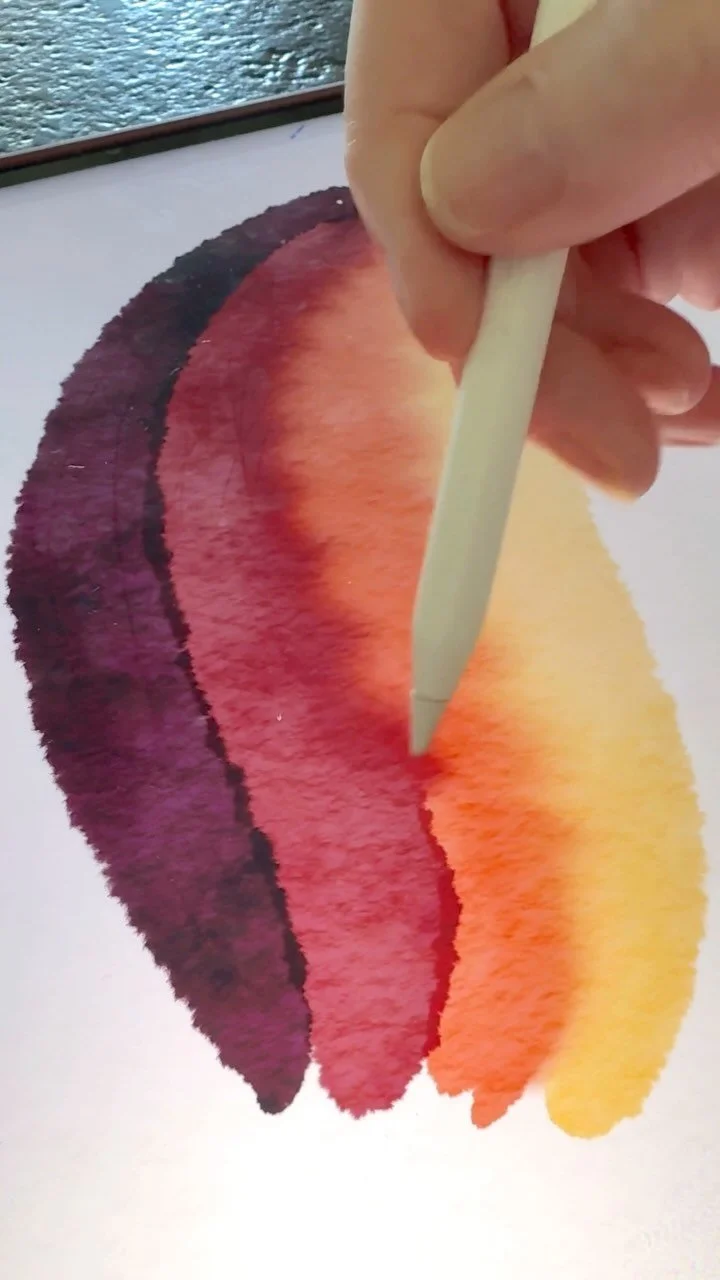
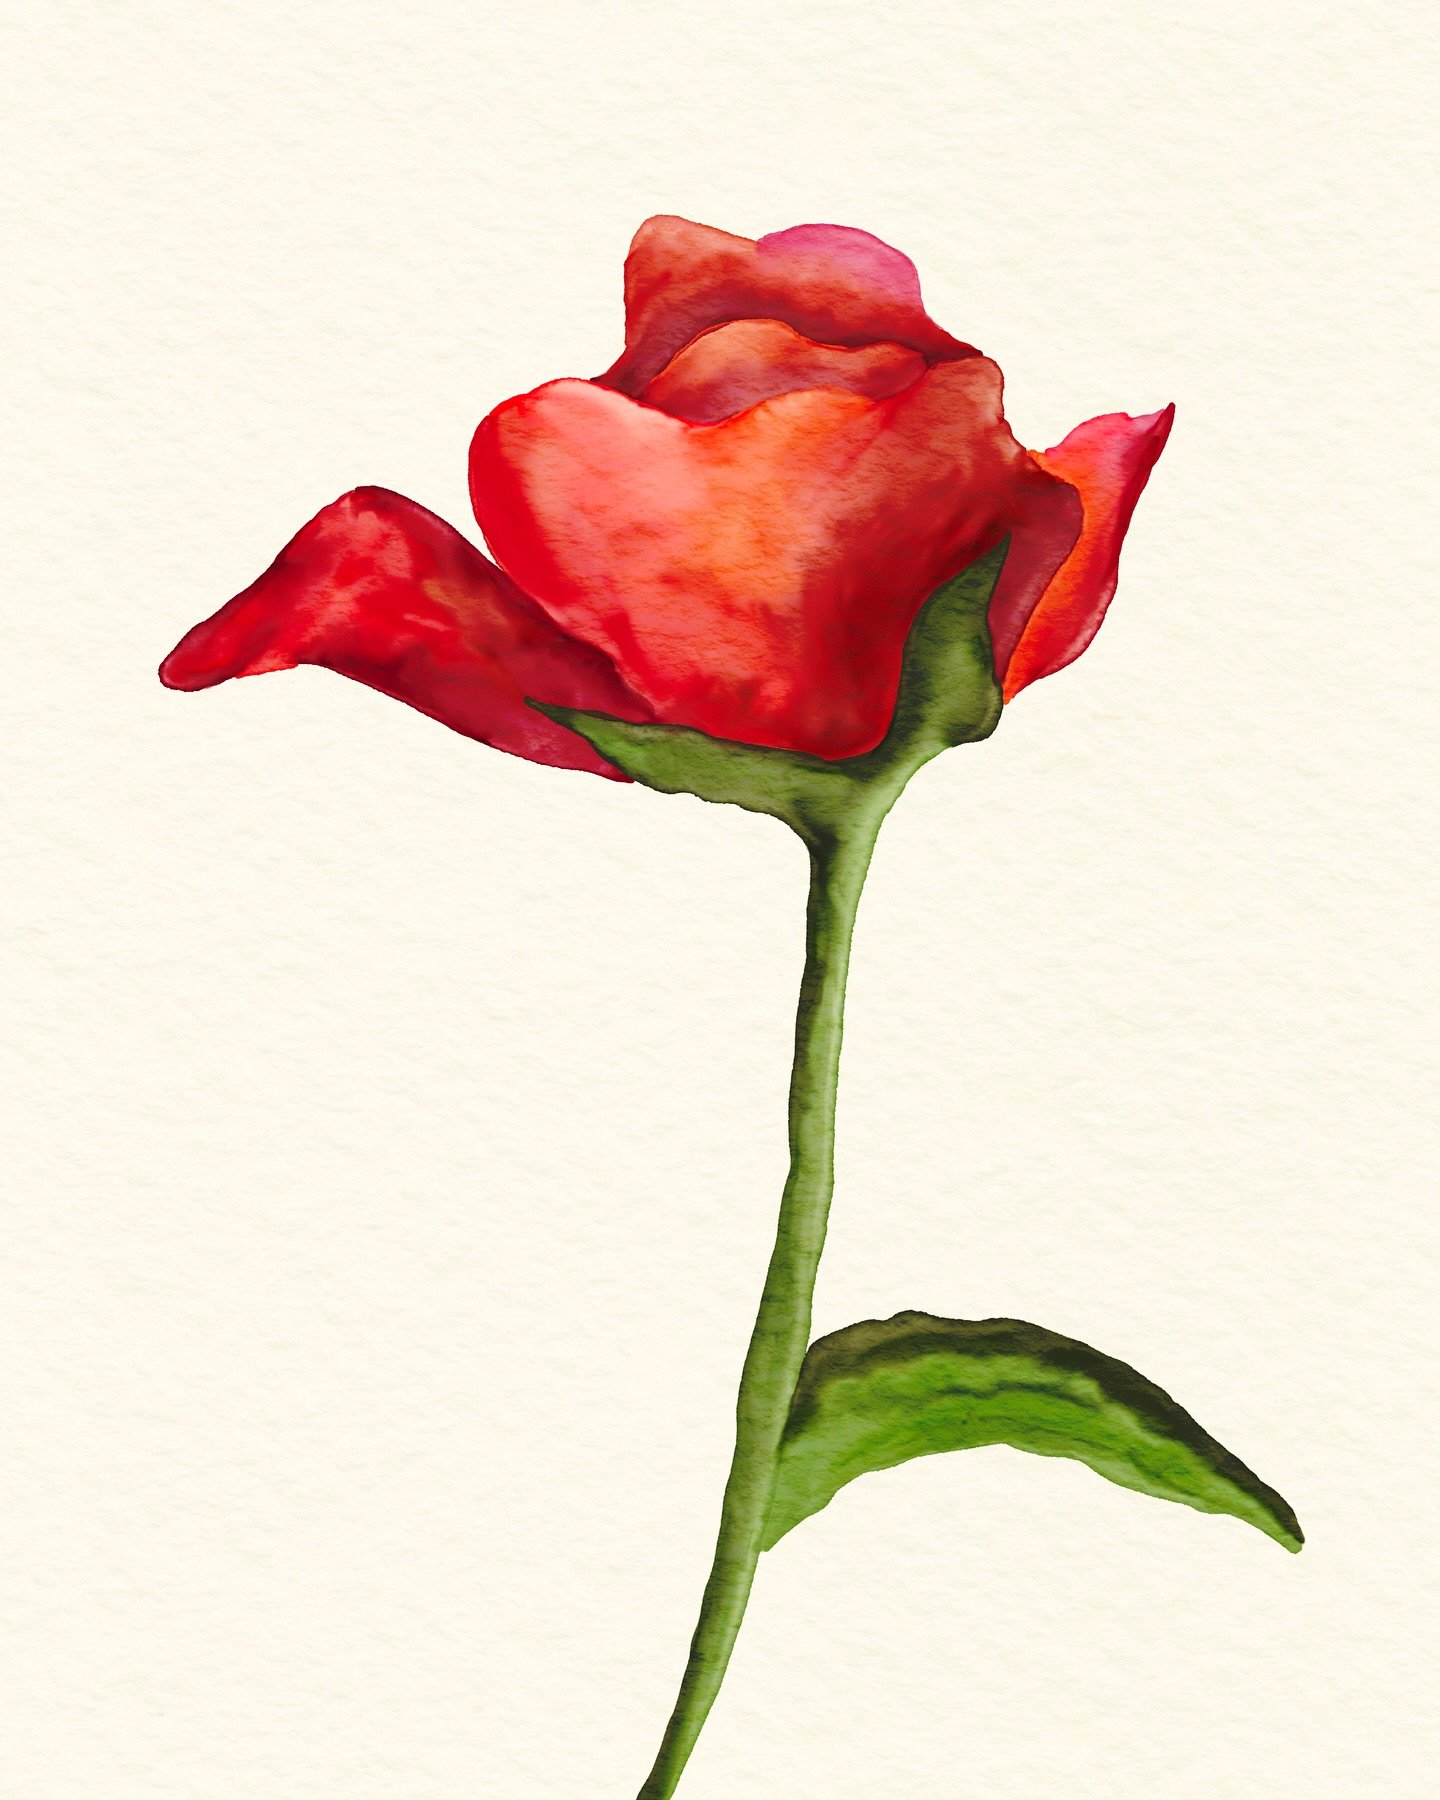
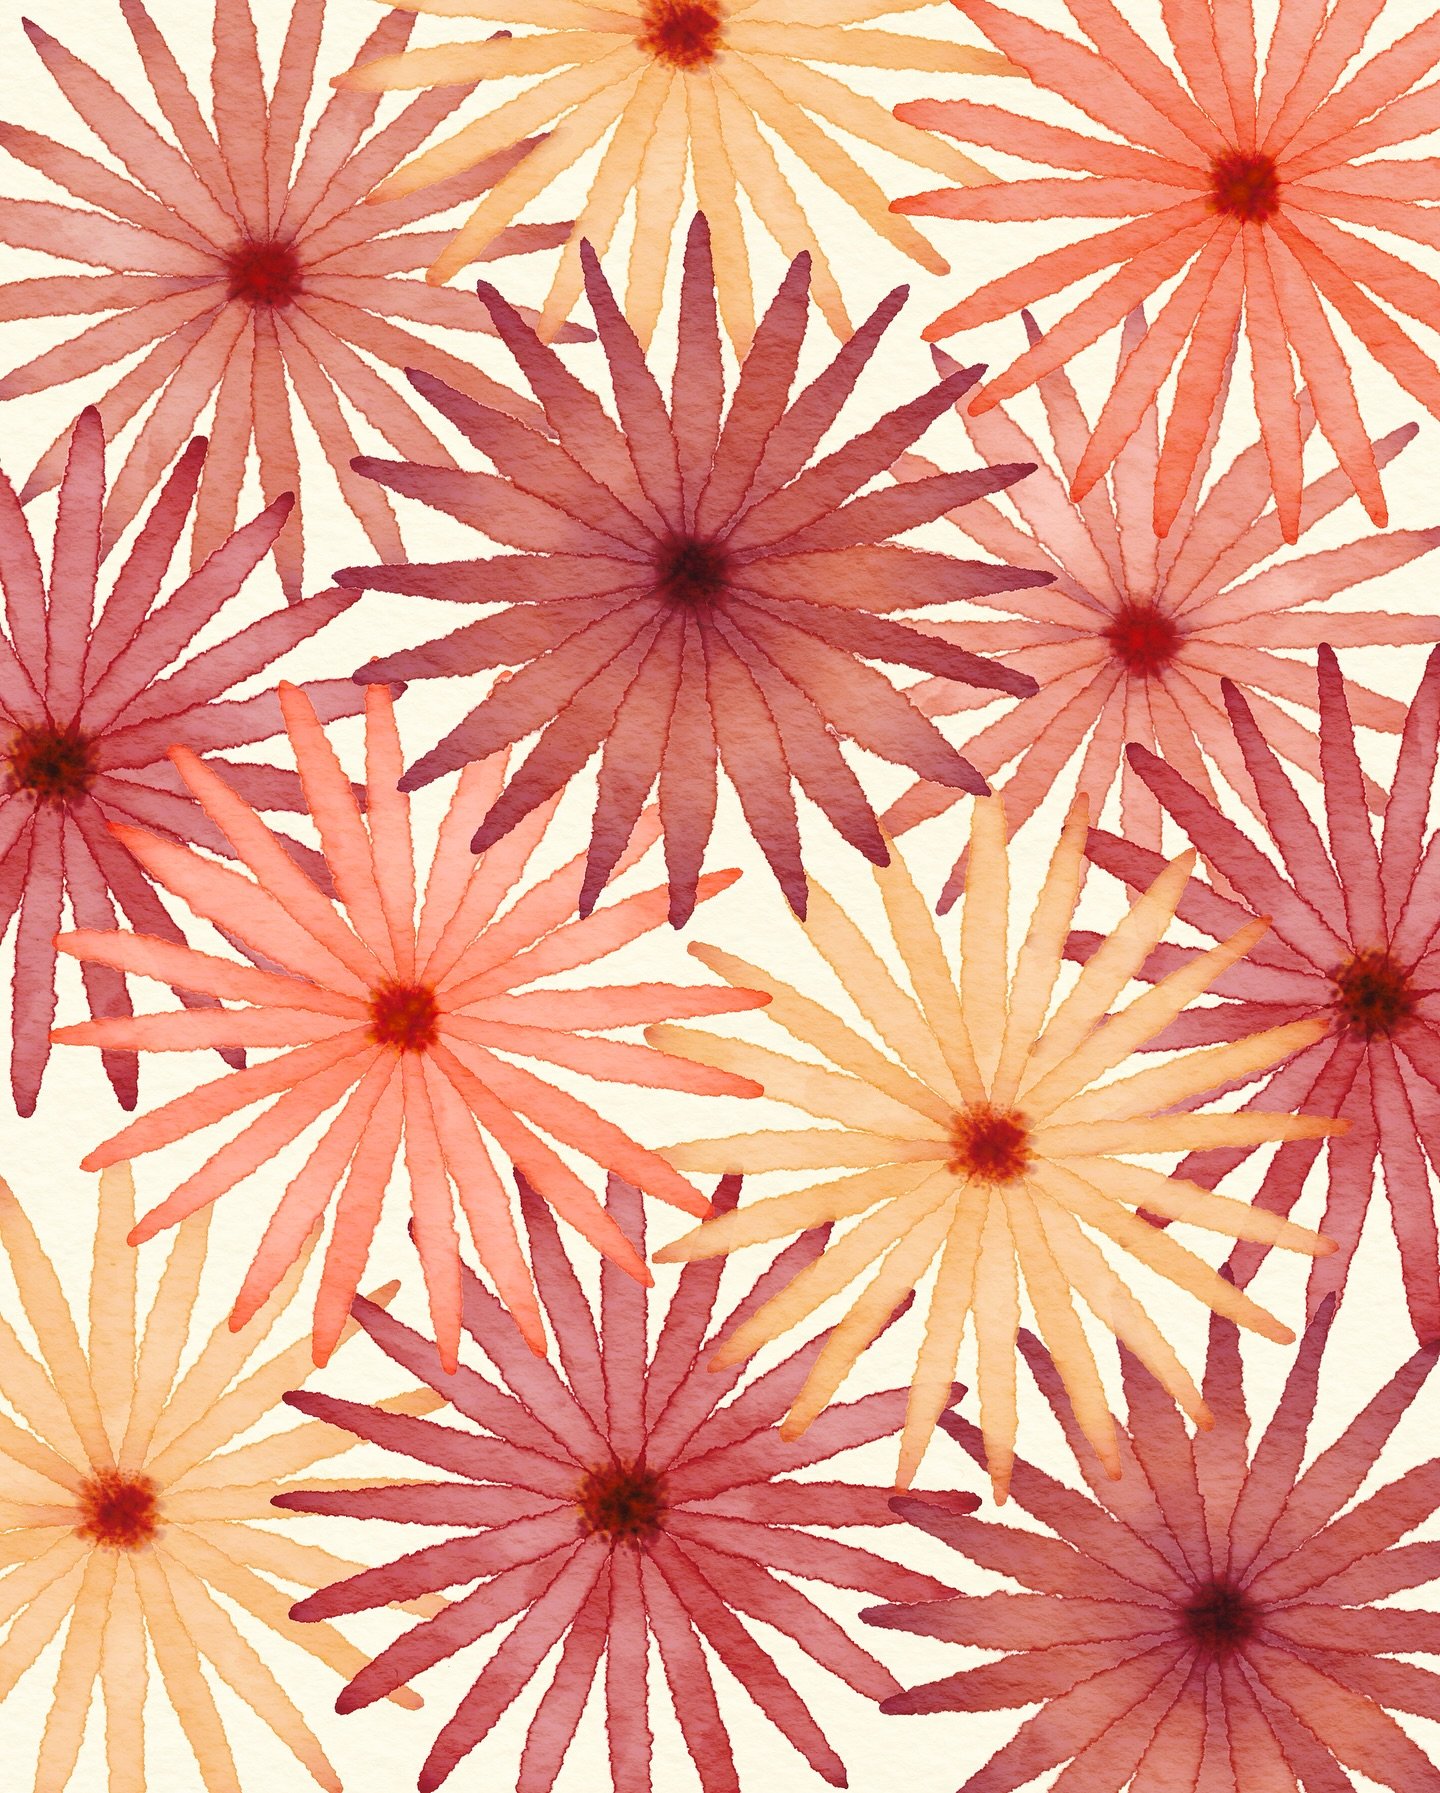
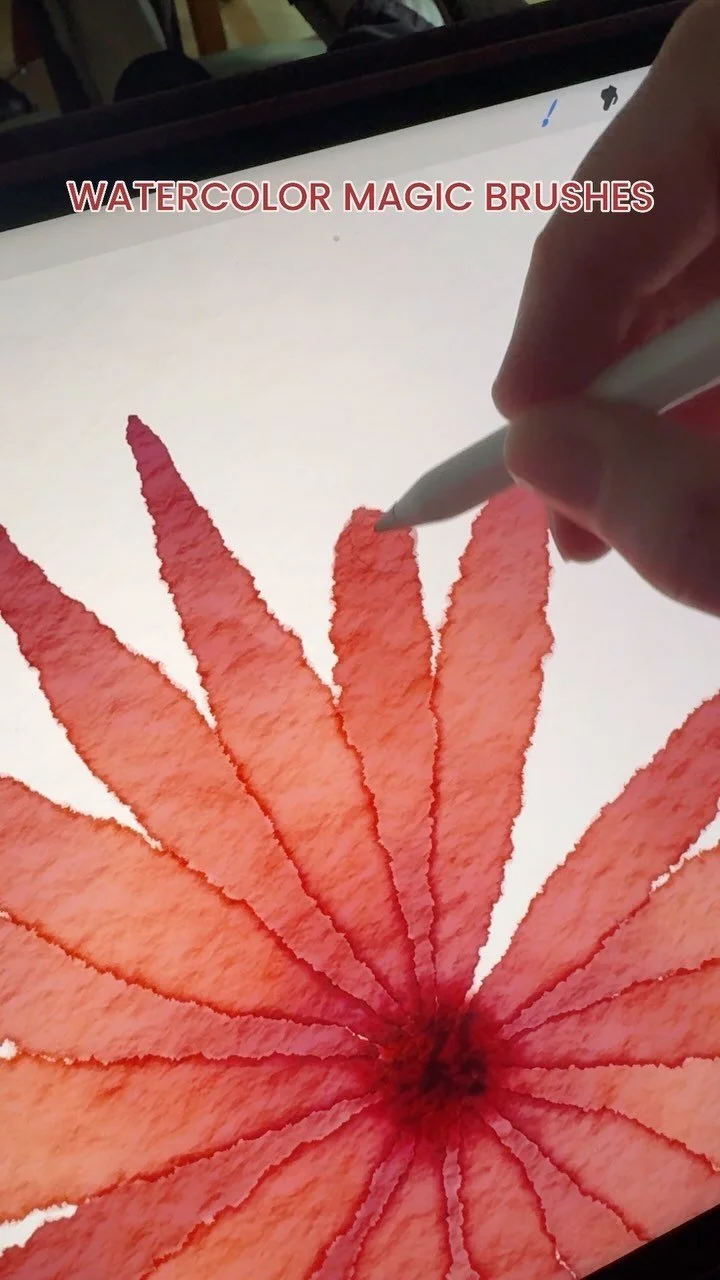
Watercolor Magic
The Watercolor Magic Procreate painting kit has everything you need to create beautiful, realistic watercolor digital art on your iPad with your Apple pencil, including:
• 36 magical brushes in total
• 24 watercolor brushes, including 11 DuoColor brushes
• 6 watercolor blending brushes to achieve exactly the look you want
• 5 extra brushes for paint splatters, backgrounds, and a textured sketching pencil created especially to work with watercolor papers
• 6 color palettes created to help you make the most of the DuoColor brushes
• 5 different watercolor paper textures, set up in ready-to-use Procreate canvases - just copy, open, and paint
↓ free procreate brushes, paper textures, and more! ↓
check these procreate tutorials, tips and tricks out, too:

The Latest on the ‘Gram…